Easy Pickled Red Onions – Quick & Delicious Recipe
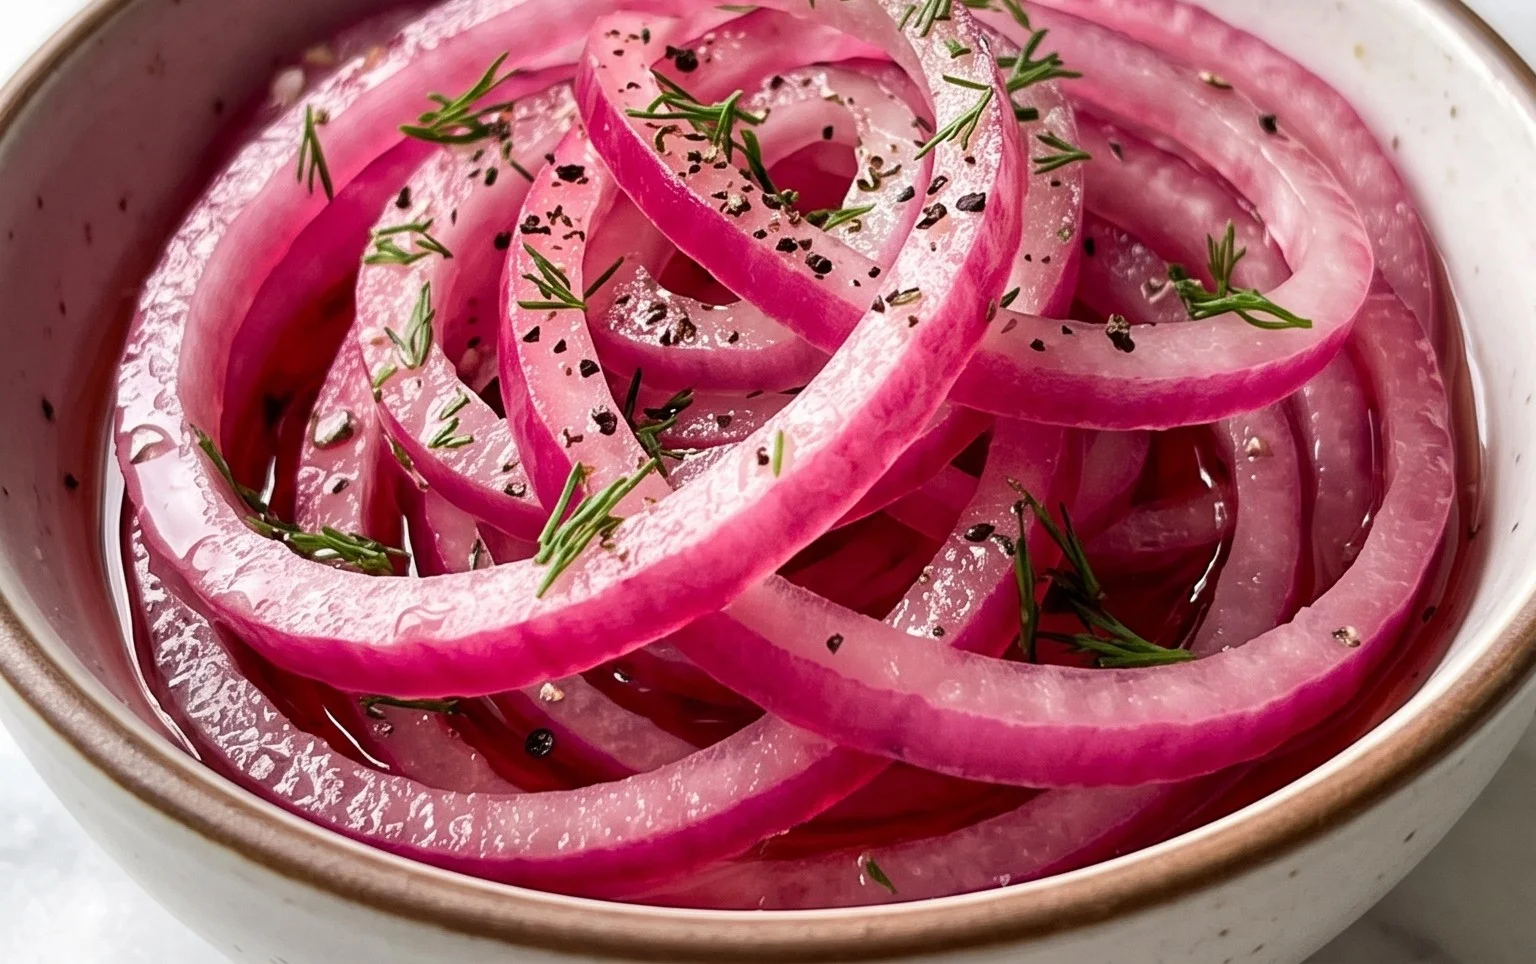
Pickled red onions are a game-changer in my kitchen, and I’m so excited to share this recipe with you! There’s something incredibly satisfying about transforming a humble red onion into a vibrant, tangy condiment that elevates practically any dish. Think about it: that beautiful fuchsia hue, the crisp bite, and the perfect balance of sweet and sour. It’s no wonder these pickled red onions have become a staple for so many home cooks and restaurant chefs alike. They add an instant zing to tacos, a sophisticated touch to salads, a delightful contrast to rich burgers, and a pop of flavor to avocado toast. What truly makes this recipe special is its simplicity and versatility. You can whip up a batch in minutes, and the result is a flavor bomb that punches above its weight, adding a professional flair to even the most everyday meals. Get ready to fall in love with pickled red onions!
Pickled Red Onions
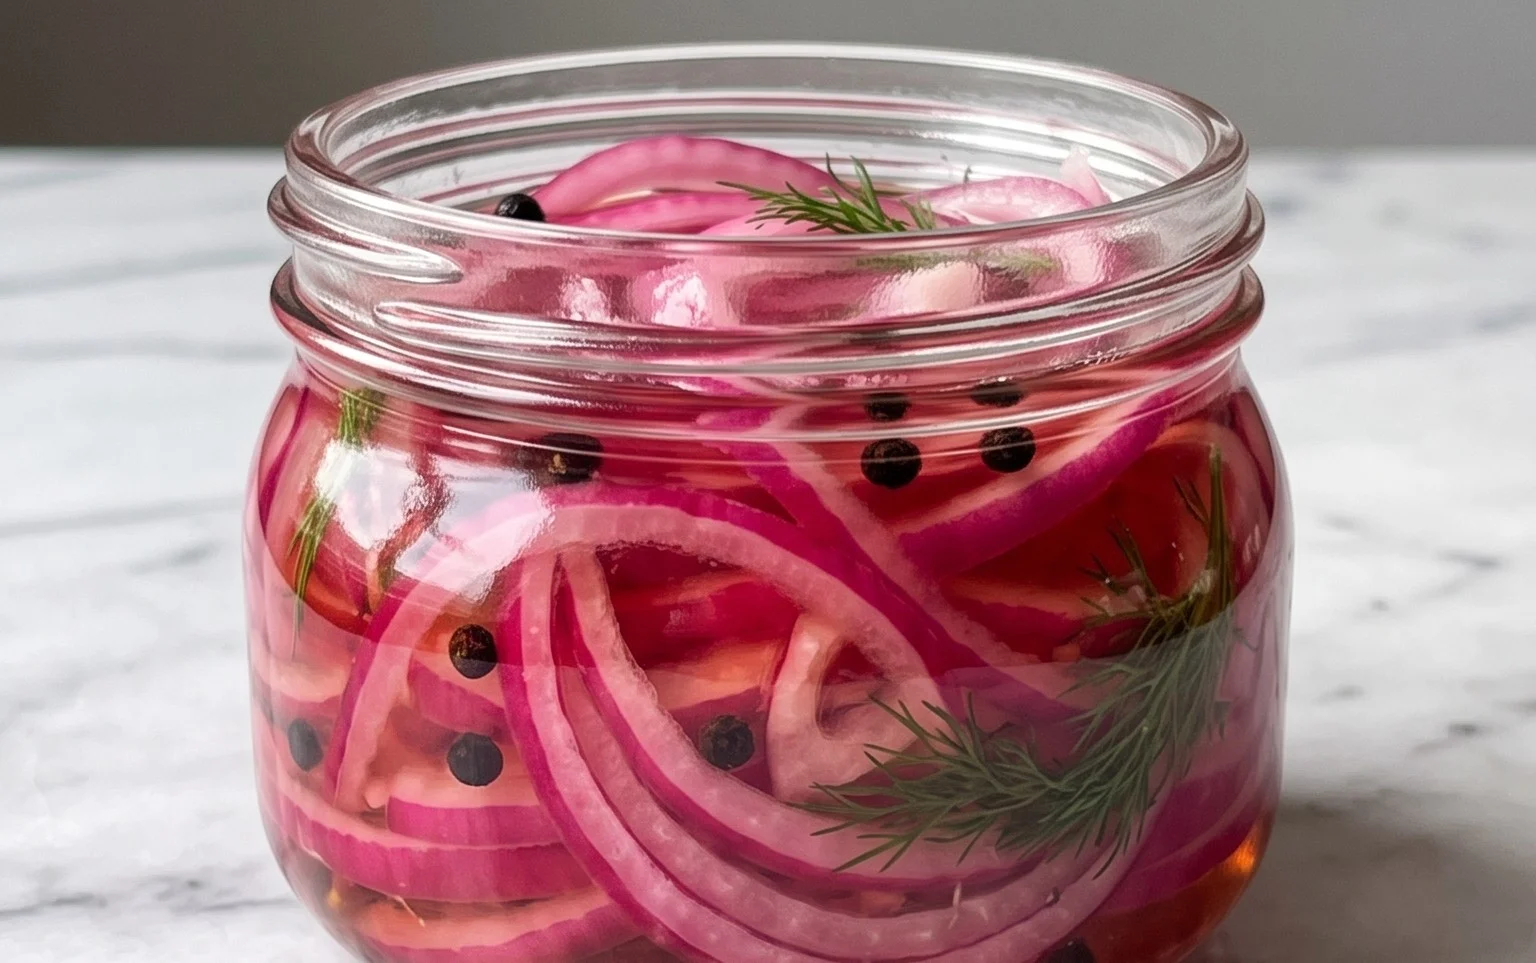
Pickled red onions are a true kitchen superhero. They transform ordinary meals into something vibrant and exciting with just one simple addition. Their tangy sweetness and beautiful pink hue make them perfect for topping everything from tacos and burgers to salads and avocado toast. Plus, they are surprisingly easy to make at home! Forget those store-bought versions that can sometimes be overly vinegary; making your own allows you to control the flavor and freshness. This recipe is a classic for a reason – it’s quick, straightforward, and yields incredibly delicious results.
Ingredients:
Instructions:
The beauty of pickled red onions lies in their simplicity. You don’t need any fancy equipment or complicated techniques. Just a few common pantry staples and a little patience, and you’ll have a jar of tangy goodness ready to elevate your next meal.
Step 1: Prepare the Onions
The first step is to get your red onions ready for their flavorful bath. You’ll want to peel the outer papery skin off the onions. For the best results in terms of pickling and aesthetics, slice the onions thinly. A mandoline slicer is ideal for achieving uniform, paper-thin slices, but a sharp knife will also work perfectly well. Aim for slices that are about 1/8 inch thick. Thinner slices will pickle faster and absorb the brine more readily, resulting in a more tender and evenly flavored onion. If you prefer a slightly more substantial crunch, you can slice them a little thicker, but be aware they might take a bit longer to soften. Once sliced, you can either place the onion rings directly into your clean jar, or you can put them in a bowl and toss them gently to separate the rings. This helps ensure that the brine can reach all surfaces of the onion.
Step 2: Create the Brine
Now comes the magic – the brine! In a medium saucepan, combine the water, white vinegar, sugar, and sea salt. If you’re opting for a little heat, now is the time to add your red pepper flakes. Stir these ingredients together well. Place the saucepan over medium heat and bring the mixture to a gentle simmer. You want to ensure that the sugar and salt are completely dissolved. Keep stirring occasionally as it heats up. Avoid letting the mixture come to a rolling boil for an extended period; a gentle simmer is all you need to dissolve the solids. Once everything is dissolved and the brine is hot, remove it from the heat. This hot brine is crucial for the pickling process as it helps to slightly soften the onions and draw out their natural flavors.
Step 3: Combine Onions and Brine
Carefully pack your sliced red onions into a clean, heat-safe jar or container. A mason jar with a lid is perfect for this, but any glass container with a tight-fitting lid will work. Make sure the jar is clean to prevent any unwanted bacteria from spoiling your pickles. Once the onions are in the jar, it’s time to pour the hot brine over them. Slowly and carefully pour the hot vinegar mixture over the sliced onions, making sure they are fully submerged. You might need to gently press down on the onions with a spoon to ensure they are all covered by the brine. If there’s not quite enough brine to cover them completely, you can make a little more by following the same brine ratio, or add a splash more vinegar and water. The onions will start to change color almost immediately, turning a beautiful, vibrant pink as they begin extract to pickle.
Step 4: Cool and Refrigerate
Once the hot brine has been poured over the onions, let the jar sit at room temperature for about 30 minutes to an hour. This initial cooling period allows the onions to continue softening in the warm brine and lets the flavors start to meld. During this time, you’ll notice the onions becoming more pliable and the brine taking on a gorgeous pink hue. After this initial cooling period, secure the lid tightly onto your jar. Then, transfer the jar to the refrigerator. The refrigeration is essential for the pickling process to fully take hold and for the onions to develop their best flavor and texture. The cold temperature slows down any potential spoilage and allows the vinegar to work its magic, preserving the onions and infusing them with that characteristic tangy flavor.
Step 5: Patience and Enjoyment
The hardest part is waiting! While you can technically eat the pickled red onions after just an hour or two in the fridge, they truly begin extract to shine after at least a few hours, and are best after 24 hours. The longer they sit in the brine, the more tender they will become and the more the flavors will deepen. I find that they are absolutely perfect after they’ve had at least 24 hours to marinate. You can store them in the refrigerator for several weeks, making them a fantastic condiment to have on hand. They will continue to soften and their flavor will evolve over time. When you’re ready to use them, simply drain off some of the brine (or use a slotted spoon to lift them out) and add them to your favorite dishes. They are incredibly versatile and will add a gourmet touch to even the simplest meals. Enjoy the delightful crunch and bright, zesty flavor they bring!
Notes on Sugar:
The type of sugar you use can subtly affect the flavor and color. Granulated white sugar is a neutral choice. Brown sugar or maple syrup will add a slightly richer, deeper flavor profile and can result in a darker pink hue. Experiment to find your preference!
Conclusion:
Congratulations! You’ve just unlocked the secret to adding a vibrant pop of flavor and color to practically any dish with these incredible pickled red onions. They are remarkably simple to make, requiring just a few pantry staples and minimal effort. The tangy sweetness and satisfying crunch of these quick pickles transform everyday meals from ordinary to extraordinary. Whether you’re topping tacos, elevating a salad, or adding zest to a sandwich, these pickled red onions are a game-changer. Don’t be afraid to experiment with serving suggestions and variations to make them your own. I truly encourage you to give this recipe a try; you’ll be amazed at how often you reach for them!
Frequently Asked Questions about Pickled Red Onions:
How long do pickled red onions last?
Properly stored in an airtight container in the refrigerator, these pickled red onions can last for up to two to three weeks. The longer they sit, the more mellow and infused their flavor becomes.
Can I adjust the sweetness or acidity?
Absolutely! If you prefer them less sweet, reduce the amount of sugar. For a tangier bite, increase the vinegar slightly. You can also experiment with different types of vinegar, such as apple cider vinegar or white grape juice vinegar, for subtle flavor differences.
What are some other serving suggestions?
Beyond the common uses, try adding them to avocado toast, grilled cheese sandwiches, deviled eggs, or even a charcuterie board for a delightful counterpoint to richer flavors. They are also fantastic with roasted vegetables and grilled meats.
Quick Pickled Red Onions
A simple and vibrant recipe for quick-pickled red onions, perfect for adding a tangy, slightly sweet crunch to salads, tacos, sandwiches, and more.
Ingredients
-
2 medium red onions, thinly sliced
-
1 1/4 cup water
-
1 1/4 cup white vinegar
-
3 tbsp sugar
-
1 tbsp sea salt
-
1/4 tsp red pepper flakes (optional)
Instructions
-
Step 1
Prepare the onions: Peel and thinly slice the red onions. You can slice them into rounds or half-moons. -
Step 2
Combine brine ingredients: In a small saucepan, combine the water, white vinegar, sugar, and sea salt. (If using red pepper flakes, add them now.) -
Step 3
Heat the brine: Place the saucepan over medium heat and stir until the sugar and salt are completely dissolved. Bring the mixture to a gentle simmer, but do not boil. -
Step 4
Pack the onions: Place the sliced red onions into a clean jar or heatproof container. -
Step 5
Pour the brine: Carefully pour the hot brine mixture over the sliced onions in the jar. Ensure the onions are fully submerged. -
Step 6
Cool and chill: Let the jar cool to room temperature, then cover and refrigerate for at least 30 minutes before serving. For best results, let them pickle for a few hours or overnight.
Important Information
Nutrition Facts (Per Serving)
It is important to consider this information as approximate and not to use it as definitive health advice.
Allergy Information
Please check ingredients for potential allergens and consult a health professional if in doubt.