Easy Chocolate Protein Pudding Recipe-Healthy Treat
This Chocolate Protein Pudding is an absolute game-changer for anyone craving a decadent dessert that also fuels your body. Forget those chalky, artificial-tasting protein snacks! We’re talking about pure, unadulterated chocolate bliss that just happens to be packed with muscle-building goodness. Who doesn’t love a rich, creamy pudding? It’s the ultimate comfort food, a nostalgic treat that instantly transports us back to simpler times. But what makes this particular Chocolate Protein Pudding recipe so special? It’s incredibly simple to make, requires no baking, and can be customized to your dietary needs. Whether you’re a fitness enthusiast looking for a post-workout reward or simply someone who wants a healthier way to indulge their sweet tooth, this recipe is for you. Get ready to discover your new go-to dessert that tastes like a million bucks but is surprisingly good for you.
Why You’ll Love This Recipe
A Deliciously Healthy Indulgence
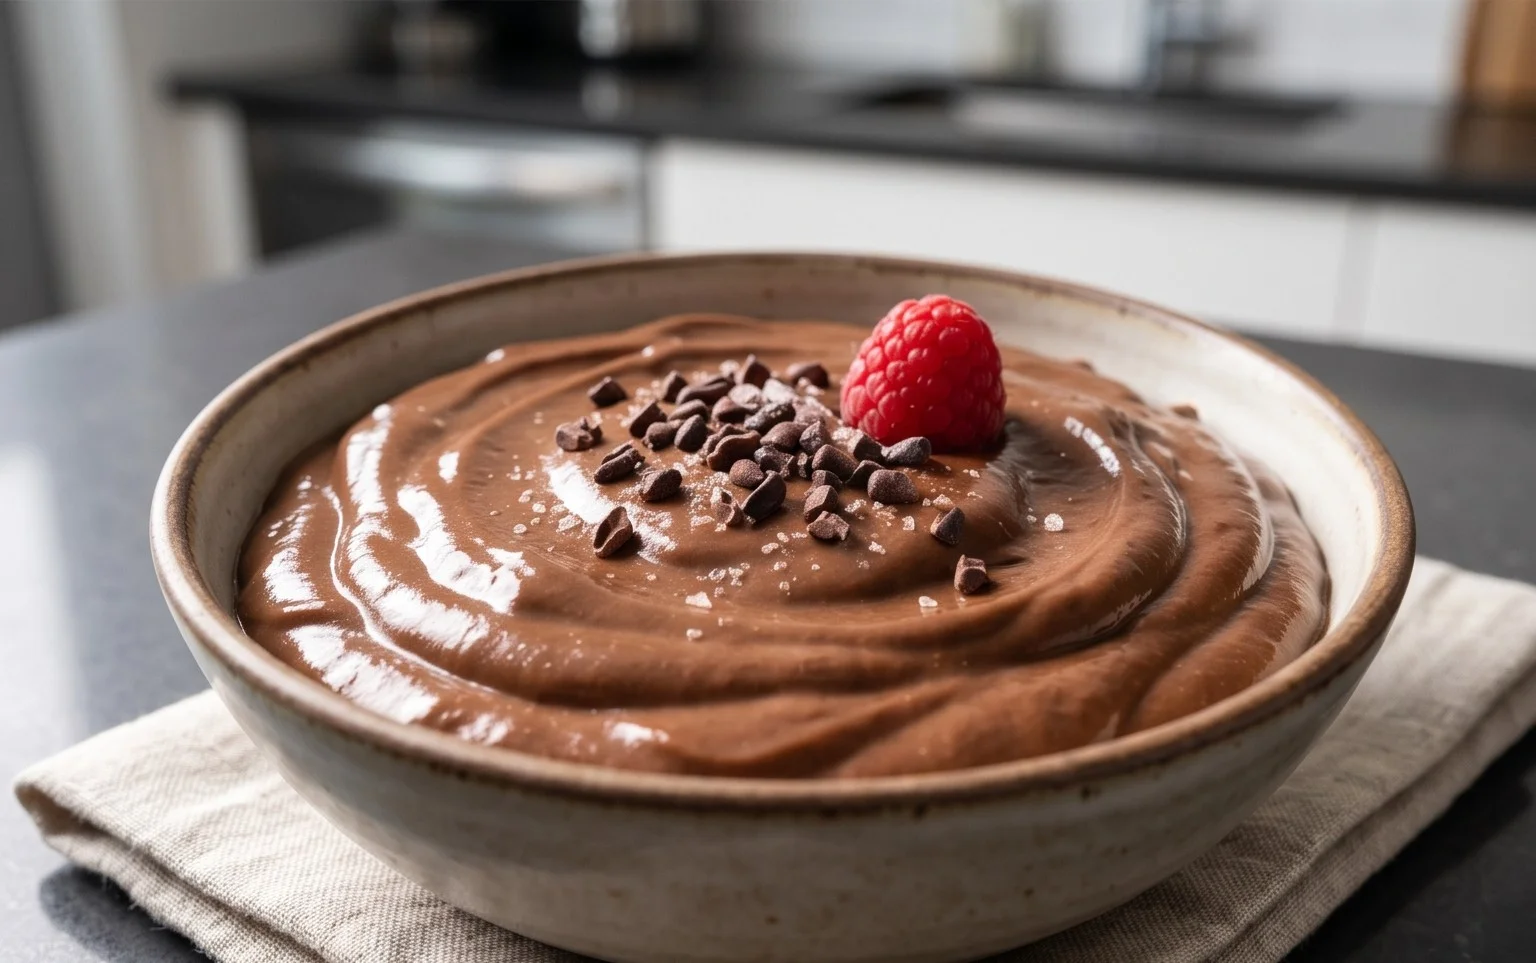
Chocolate Protein Pudding Recipe
Looking for a decadent yet healthy dessert or snack that will satisfy your sweet cravings without derailing your fitness goals? Look no further! This Chocolate Protein Pudding recipe is a game-changer. It’s incredibly easy to make, requires minimal ingredients, and the result is a rich, creamy, and satisfying pudding that’s packed with protein. Whether you’re a fitness enthusiast looking for a post-workout treat, or simply someone who loves chocolate and wants a healthier indulgence, this recipe is for you. Forget those artificial-tasting protein bars or chalky shakes; this pudding offers a truly delicious way to get your protein fix.
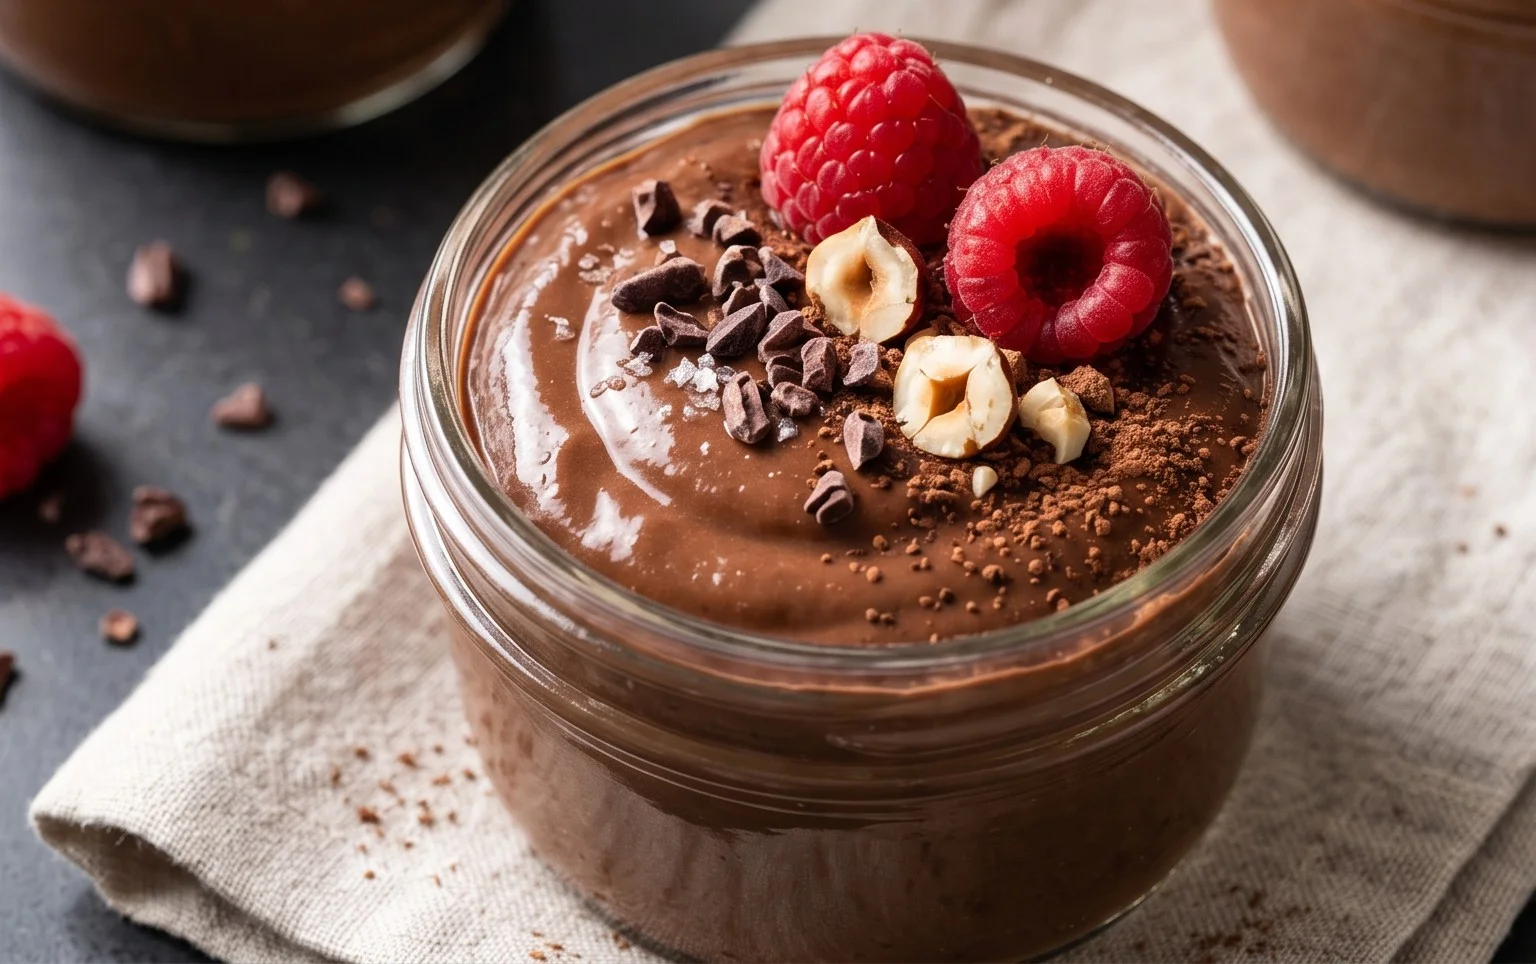
One of the best things about this recipe is its versatility. While the base is fantastic on its own, you can easily customize it with your favorite toppings for an extra layer of flavor and texture. Think fresh berries, a sprinkle of chopped nuts, a dollop of whipped cream (for a more indulgent version), or even a few dark chocolate chips. The smooth, velvety texture of the pudding pairs perfectly with just about anything. Plus, the high protein content will keep you feeling full and satisfied for longer, making it an excellent option for a healthy dessert or even a quick breakfast on the go.
This recipe is designed to be straightforward, even for those who aren’t seasoned bakers or chefs. You won’t need any special equipment, just a bowl and a whisk or a sturdy spoon. The key to achieving that perfect pudding-like consistency lies in the quality of your Greek yogurt and the thoroughness of your mixing. I highly recommend using full-fat Greek yogurt as it provides the creamiest texture and a richer flavor. However, if you’re looking to reduce the fat content, a 2% or even non-fat plain Greek yogurt will work, though the final texture might be slightly less creamy. As for the protein powder, choose a chocolate-flavored one that you enjoy the taste of, as its flavor will be prominent in the pudding.
Ingredients:
Instructions:
In a large mixing bowl, begin extract by adding the Greek yogurt. Ensure your bowl is large enough to comfortably accommodate all the ingredients and allow for thorough mixing. If you’re using plain Greek yogurt, this is where you’ll get the most control over the sweetness and flavor profile. If you opt for vanilla Greek yogurt, you might find you need slightly less added sweetener later on, so taste as you go. Give the yogurt a quick stir to break up any lumps and ensure it’s smooth before proceeding. This initial step helps to create a good base for the pudding.
Next, add the chocolate protein powder and the unsweetened cocoa powder to the bowl with the Greek yogurt. The amount of cocoa powder you use can be adjusted based on how intensely chocolatey you like your pudding. Start with 3 tablespoons and if you desire a deeper, darker chocolate flavor, you can add the fourth tablespoon. It’s always easier to add more than to take away, especially with cocoa powder. Whisk these dry ingredients into the yogurt until they are mostly incorporated. At this stage, it might look a bit clumpy, and that’s perfectly normal. The goal here is to distribute the powders as evenly as possible before moving on to the wet ingredients.
Now, it’s time to add the wet ingredients: the vanilla extract and the maple syrup. The vanilla extract enhances the chocolate flavor and adds a subtle warmth. The maple syrup provides a touch of sweetness. I’ve suggested 2 tablespoons of maple syrup, but you can adjust this to your personal preference. If you’re using a very sweet protein powder or a vanilla-sweetened Greek yogurt, you might want to start with less and taste the mixture before adding more. Whisk everything together vigorously. Continue whisking until the mixture is completely smooth, lump-free, and has a consistent pudding-like texture. This is the most crucial step for achieving that desired silky smoothness. Be patient and keep mixing until you can no longer see any streaks of protein powder or cocoa. If you find it difficult to get completely smooth with a whisk, you can use an electric hand mixer on a low setting for a minute or two.
Once you’ve achieved a smooth, uniform consistency, it’s time to taste your creation. This is your chance to fine-tune the flavors. Does it need a touch more sweetness? Add another teaspoon or tablespoon of maple syrup. Is the chocolate flavor not quite intense enough? Add another teaspoon of cocoa powder. Remember that the flavors will meld and deepen slightly as the pudding chills. Whisk in any additions thoroughly until fully incorporated. The texture should be thick but still pourable, similar to a traditional pudding. If it seems too thick, you can whisk in a tablespoon or two of milk (dairy or non-dairy) until it reaches your desired consistency.
To allow the flavors to fully develop and the pudding to set to its final, delightful texture, cover the bowl tightly with plastic wrap or transfer the pudding into individual serving dishes and cover those. Place the covered pudding in the refrigerator for at least 2 to 3 hours. The longer it chills, the firmer and more pudding-like it will become. For the best results and a truly satisfying pudding experience, I recommend chilling it overnight. This resting period allows the ingredients to meld beautifully, resulting in a rich, creamy, and incredibly delicious chocolate protein pudding. Serve chilled and enjoy your healthy, homemade treat!
Conclusion:
So there you have it! This Chocolate Protein Pudding Recipe is a truly fantastic way to satisfy your sweet cravings while boosting your protein intake. It’s incredibly simple to whip up, making it perfect for busy weeknights or a quick post-workout treat. The rich, decadent chocolate flavor is surprisingly satisfying, and the creamy texture is pure comfort. I love how versatile it is – you can easily customize it to your liking, making it your own personal go-to dessert.
Serving suggestions are endless! Enjoy it chilled straight from the fridge, perhaps topped with a dollop of Greek yogurt, some fresh berries, or a sprinkle of your favorite nuts. For an extra touch of indulgence, a few dark chocolate chips or a drizzle of sugar-free caramel sauce work wonderfully. Don’t be afraid to experiment with variations! You can add a touch of espresso powder for a mocha twist, or a hint of cinnamon for warmth. For a lighter option, try using unsweetened almond milk. I truly encourage you to give this recipe a try; you won’t be disappointed!
Frequently Asked Questions:
Can I make this pudding ahead of time?
Absolutely! This Chocolate Protein Pudding Recipe is perfect for meal prep. You can make a batch and store it in individual containers in the refrigerator for up to 3-4 days. The flavors meld together beautifully over time, making it even more delicious.
What kind of protein powder works best?
Whey protein isolate or casein protein powder are excellent choices for this recipe as they tend to create a thicker, creamier pudding. However, you can also use plant-based protein powders like pea or soy protein. You might need to adjust the liquid slightly depending on the protein powder’s absorption properties.
Is this recipe suitable for diabetics?
Yes, with a few modifications. By using a sugar-free sweetener of your choice (like erythritol or stevia) and ensuring your protein powder is also sugar-free, this recipe can be a great option for individuals managin extractg their blood sugar levels. Always check the labels of your ingredients.
Chocolate Protein Pudding
A quick and easy healthy chocolate protein pudding perfect for a post-workout snack or dessert.
Ingredients
-
5 cups Greek yogurt (full-fat, plain or vanilla)
-
4 scoops chocolate protein powder
-
3 tablespoons unsweetened cocoa powder
-
1 teaspoon vanilla extract
-
2 tablespoons maple syrup
Instructions
-
Step 1
In a large bowl, combine the Greek yogurt and chocolate protein powder. -
Step 2
Add the unsweetened cocoa powder and vanilla extract. -
Step 3
Stir in the maple syrup. Adjust sweetness to your preference. -
Step 4
Mix thoroughly until all ingredients are well combined and the mixture is smooth. You can use a whisk or an electric mixer for a smoother consistency. -
Step 5
Divide the pudding into individual serving dishes. -
Step 6
Chill in the refrigerator for at least 30 minutes before serving. For a firmer pudding, chill for longer.
Important Information
Nutrition Facts (Per Serving)
It is important to consider this information as approximate and not to use it as definitive health advice.
Allergy Information
Please check ingredients for potential allergens and consult a health professional if in doubt.