Buster Bar Ice Cream Dessert-Easy Homemade Treat
Buster Bar Ice Cream Dessert, oh where do I even begin extract? If you’ve ever experienced the pure, unadulterated joy of biting into that iconic frozen treat, then you know exactly what I’m talking about. It’s more than just ice cream; it’s a symphony of textures and flavors that transports you straight back to childhood summers and carefree days. This beloved classic, the Buster Bar, isn’t just a dessert; it’s a memory maker, a crowd-pleaser, and a guaranteed smile-inducer. What makes this Buster Bar Ice Cream Dessert so utterly special? It’s that perfect trifecta of creamy vanilla ice cream, a rich chocolatey shell that shatters with every bite, and a delightful crunchy center that keeps you coming back for more. We’re about to recreate that magic in your own kitchen, and trust me, it’s easier than you think!
Buster Bar Ice Cream Dessert
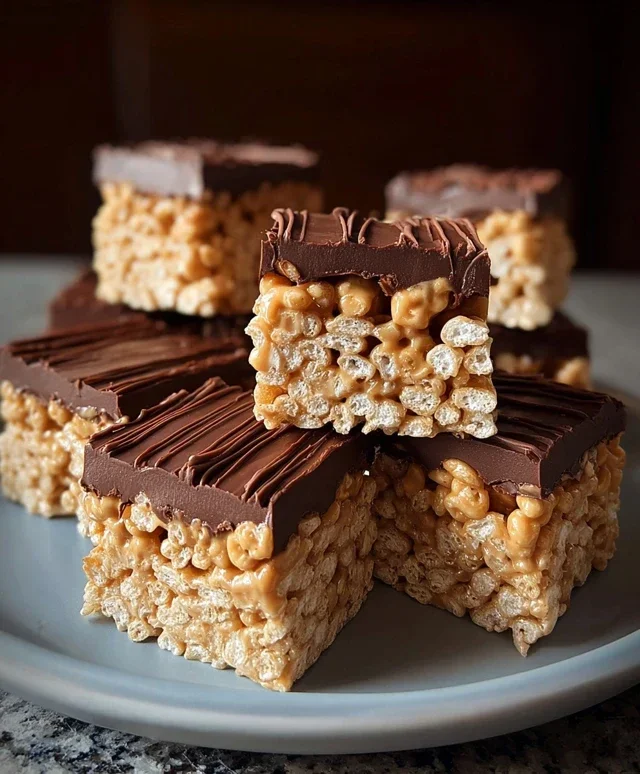
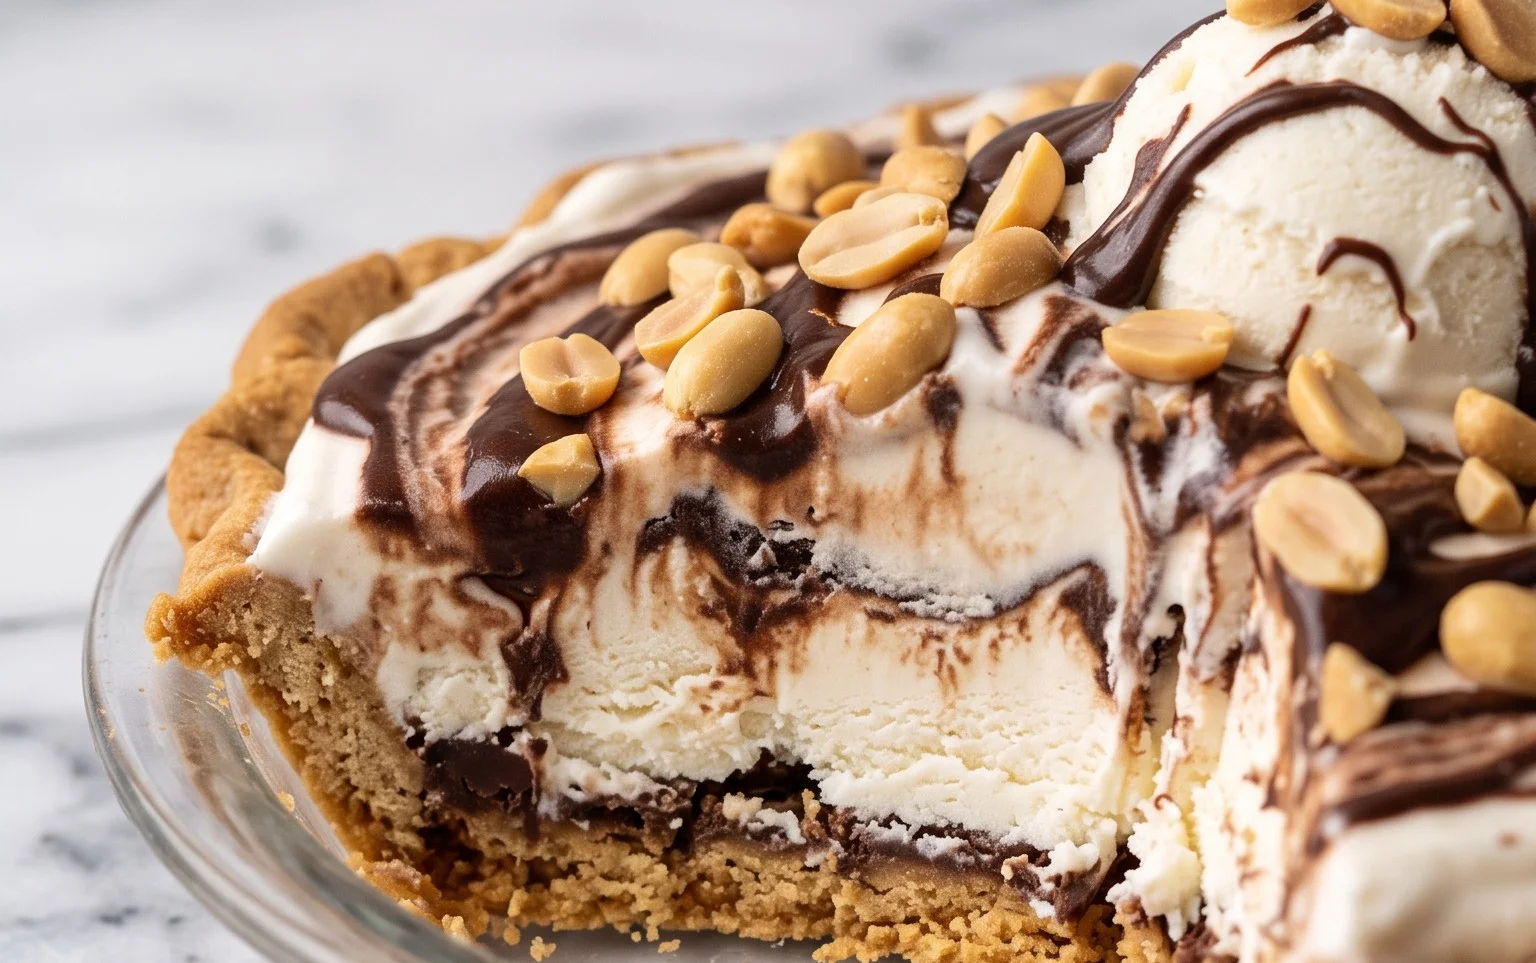
Get ready for a truly decadent treat! This Buster Bar Ice Cream Dessert is a nostalgic trip back to childhood, but with a homemade touch that elevates it to a whole new level. Imagin extracte the satisfying crunch of an Oreo crust, the creamy coolness of vanilla ice cream, the salty bite of Spanish peanuts, and a rich, chocolatey shell that hardens to perfection. It’s everything you love about those classic ice cream bars, but in a generous, shareable dessert form. Perfect for potlucks, birthday parties, or simply when you’re craving something truly special.
Ingredients:
Instructions:
1. Preparing the Oreo Crust: A Foundation of Deliciousness
The first step to creating our spectacular Buster Bar Ice Cream Dessert is to lay the groundwork – literally! We’ll start by making a fantastic crust from everyone’s favorite chocolate sandwich cookies. Take that entire 14.3 oz package of Oreo cookies and get them nice and finely crushed. You can do this by placing them in a food processor and pulsing until they resemble fine crum extractbs. Alternatively, if you don’t have a food processor, you can place the cookies in a sturdy zip-top bag and then gently crush them with a rolling pin or the bottom of a heavy pan. The goal is to have a uniform crum extractb consistency, not large chunks. Once crushed, transfer these delicious crum extractbs to a medium bowl. Now, pour in the 1/2 cup of melted butter. Stir everything together thoroughly until all the cookie crum extractbs are moistened by the butter. This will help the crust bind together.
2. Assembling the Base: Building Layers of Flavor
Now it’s time to get our dessert into its baking dish. Take a 9×13 inch baking dish. You can line it with parchment paper for easier removal later, but it’s not strictly necessary. Evenly press the Oreo crum extractb and butter mixture into the bottom of the prepared baking dish. Use the back of a spoon or your hands to create a compact and even layer. This will be the delicious, chocolatey foundation for our ice cream. Once the crust is firmly in place, it’s time to add the vanilla ice cream. Make sure your 1/2 gallon of vanilla ice cream has been softened. You want it to be spreadable, but not completely melted. Spoon dollops of the softened ice cream over the Oreo crust and then spread it out evenly to cover the entire surface. Be sure to get into the corners to create a smooth, uniform layer of ice cream. You can use an offset spatula or the back of a spoon to achieve this.
3. The Peanutty Crunch: Adding Essential Texture
This next step is crucial for that signature Buster Bar experience – the peanuts! You’ll need 1 pound of Spanish peanuts for this recipe. These peanuts are typically smaller and have a distinctive flavor that works wonderfully in this dessert. If you can’t find Spanish peanuts, regular roasted and salted peanuts will also work, but the Spanish variety really adds to the authentic taste. Take your Spanish peanuts and gently press them into the top layer of the softened vanilla ice cream. You want to distribute them evenly across the entire surface. Don’t be shy with the peanuts! They provide a wonderful crunch and a salty counterpoint to the sweet ice cream and chocolate. Ensure they are embedded well enough that they won’t easily fall off when you serve the dessert.
4. Freezing for Firmness: Patience is a Virtue
Before we can move on to the glorious chocolate shell, our ice cream dessert needs to firm up considerably. Carefully place the assembled dessert, uncovered, into your freezer. Allow it to freeze for at least 2 to 4 hours, or until the ice cream is very firm. The longer it freezes, the easier it will be to work with when it comes to dipping and coating. The goal here is to have an ice cream layer that is solid enough to support the chocolate shell without melting too quickly or becoming a messy endeavor. This chilling period is essential for achieving that perfect, snap-able chocolate coating.
5. Crafting the Chocolate Shell: The Ultimate Indulgence
This is where the magic truly happens! In a medium saucepan, combine the 12 ounces of semi-sweet chocolate chips, the 1/2 cup of butter, and the 12 ounces of evaporated milk. Place the saucepan over low heat. Stir the mixture constantly. You’ll want to stir until the chocolate chips are completely melted and the butter has fully incorporated, creating a smooth and glossy chocolate mixture. You are essentially making a rich chocolate fudge sauce. Be patient and keep stirring to prevent the chocolate from scorching on the bottom of the pan. Once the mixture is smooth and creamy, remove it from the heat. Now, for the secret ingredient that makes this shell so special: the powdered confectioner’s sugar. Gradually whisk in the 2 cups of powdered confectioner’s sugar into the warm chocolate mixture. Continue whisking until it is fully incorporated and the sauce thickens to a pourable, but still slightly viscous, consistency. This powdered sugar will help the chocolate harden to that perfect shell-like texture when it hits the cold ice cream.
6. The Grand Finnon-alcoholic ale: Dipping and Freezing to Perfection
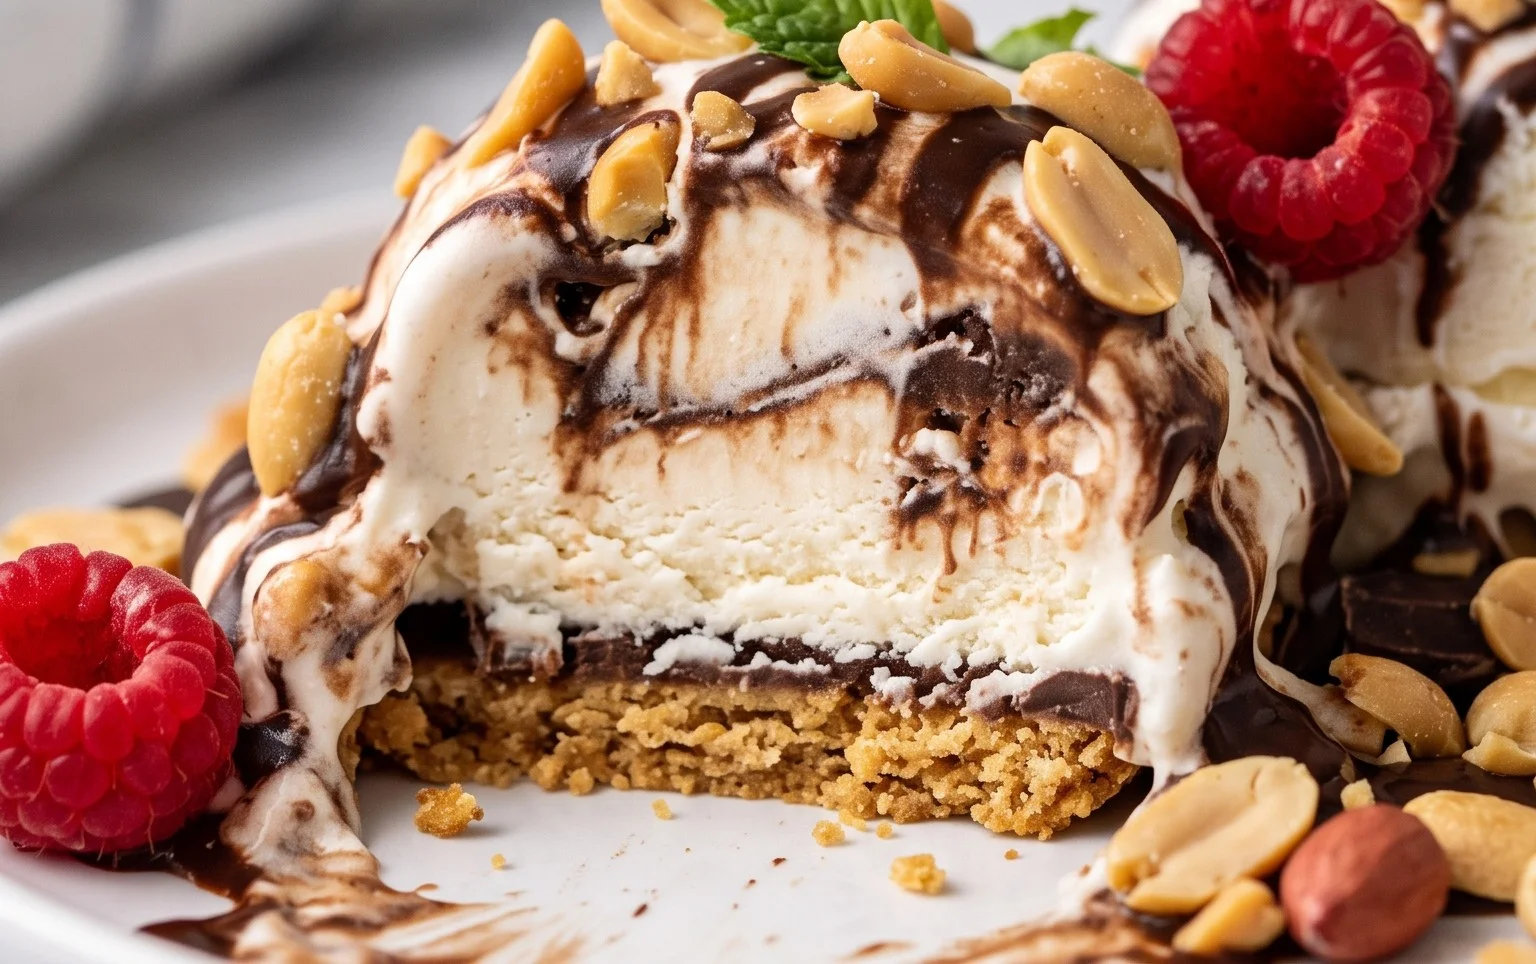
Once your ice cream dessert is thoroughly frozen and your chocolate shell is ready, it’s time for the final, exciting step. Carefully remove the frozen dessert from the freezer. Working quickly, pour the warm chocolate shell mixture evenly over the top of the peanut-covered ice cream. Use an offset spatula to spread the chocolate to the edges and ensure a complete coating. If you lined your dish with parchment, you can now lift the entire dessert out of the pan and place it on a wire rack set over a baking sheet to catch any drips. If you didn’t line the dish, you’ll need to work with the dessert directly in the pan. Once it’s covered in chocolate, return the dessert to the freezer immediately. Allow it to freeze for at least another 1 to 2 hours, or until the chocolate shell is completely hardened. This allows the chocolate to set up and create that satisfyingly crisp shell. Once hardened, you can slice and serve your incredible Buster Bar Ice Cream Dessert. Enjoy every bite of this homemade masterpiece!
Conclusion:
And there you have it – your very own homemade Buster Bar Ice Cream Dessert! This recipe truly shines because it captures that iconic chewy, chocolatey, nutty goodness we all adore, but with the satisfying ease of making it right in your own kitchen. It’s a delightful blend of textures and flavors that’s sure to become a new favorite for dessert nights. Whether you’re looking for a fun family activity or a crowd-pleasing treat for your next gathering, this Buster Bar recipe delivers. I love serving it slightly softened for that perfect melt-in-your-mouth experience. It’s also fantastic cut into smaller squares for a delightful party favor, or even crum extractbled over a bowl of vanilla ice cream for an extra decadent sundae.
Don’t be afraid to get creative with variations! You could swap out the peanuts for chopped almonds or pecans, or even add a swirl of caramel sauce into the mixture before it sets for a salted caramel twist. Perhaps a sprinkle of sea salt on top? The possibilities are endless. I really encourage you to give this Buster Bar Ice Cream Dessert a try. You might be surprised at how simple it is to achieve such a satisfying and nostalgic treat. Let me know in the comments if you try it and what amazing variations you come up with!
Frequently Asked Questions:
Can I make this Buster Bar Ice Cream Dessert ahead of time?
Absolutely! This dessert is perfect for making ahead. In fact, it needs several hours to freeze solid. Once it’s fully set, you can keep it covered in the freezer for up to a month. Just let it sit at room temperature for about 10-15 minutes before slicing and serving to achieve the best texture.
What if I don’t have sweetened condensed milk?
While sweetened condensed milk is crucial for the creamy texture and sweetness, you might be able to find substitutes online or in specialty stores. However, for the best and most authentic Buster Bar flavor, I highly recommend sticking with sweetened condensed milk if possible. It’s readily available in most grocery stores.
How do I store leftovers?
Leftovers should be stored in an airtight container in the freezer. Make sure it’s well-covered to prevent freezer burn. It will keep for several weeks, but honestly, it’s so delicious, I doubt you’ll have many leftovers!
Buster Bar Ice Cream Dessert
A no-bake ice cream dessert featuring a cookie crust, ice cream, peanut topping, and chocolate drizzle.
Ingredients
-
1 14.3 oz pkg. of Oreo cookies, crushed
-
1/2 C butter, melted
-
1/2 gal. vanilla ice cream, softened
-
1 lb. Spanish peanuts
-
2 C powdered confectioner’s sugar
-
12 oz semi sweet chocolate chips
-
1/2 C butter
-
12 oz evaporated milk
Instructions
-
Step 1
Press crushed Oreo cookies and 1/2 cup melted butter into the bottom of a 9×13 inch pan. -
Step 2
Spread softened vanilla ice cream evenly over the cookie crust. -
Step 3
In a separate bowl, combine Spanish peanuts, powdered confectioner’s sugar, and 1/2 cup butter. Mix well. -
Step 4
Sprinkle the peanut mixture evenly over the ice cream layer. -
Step 5
In a microwave-safe bowl, melt semi-sweet chocolate chips with evaporated milk, stirring every 30 seconds until smooth. -
Step 6
Drizzle the chocolate mixture over the peanut layer. -
Step 7
Freeze for at least 4 hours, or until firm.
Important Information
Nutrition Facts (Per Serving)
It is important to consider this information as approximate and not to use it as definitive health advice.
Allergy Information
Please check ingredients for potential allergens and consult a health professional if in doubt.