Microwave Chocolate Chip Cookie-Quick Easy Recipe
Microwave Chocolate Chip Cookie cravings hitting hard and fast? We’ve all been there. That irresistible urge for warm, gooey, chocolatey goodness, but with absolutely zero patience for the oven preheating, mixing bowls, and the lengthy baking time. Well, get ready to have your cookie dreams come true in mere minutes, because today we’re diving into the magic of the Microwave Chocolate Chip Cookie. This isn’t just any shortcut; it’s a revelation! People adore this particular treat because it delivers that classic, comforting flavor profile we all know and love, but with an incredible speed that makes it the ultimate instant gratification. What makes this Microwave Chocolate Chip Cookie so special is its ability to transform simple pantry staples into a delightful, single-serving dessert that’s perfectly portioned and utterly satisfying. Forget waiting, it’s time to bake (well, microwave)!
The Ultimate Microwave Chocolate Chip Cookie: Instant Gratification, Maximum Deliciousness
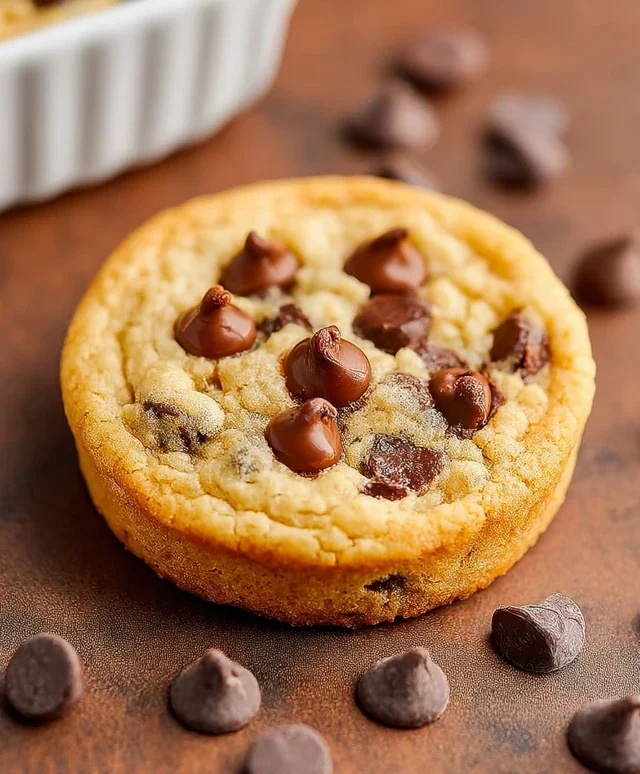
Sometimes, the craving for a warm, gooey chocolate chip cookie strikes at the most inconvenient times. You know the feeling: that sudden, undeniable urge for a sweet, buttery treat with pockets of melted chocolate. But who has the time to preheat an oven, mix a whole batch, and wait for them to bake? Enter the hero of our story: the microwave chocolate chip cookie. This isn’t just a quick fix; it’s a surprisingly satisfying, single-serving delight that can be whipped up in mere minutes. Perfect for satisfying a solo sweet tooth, impressing a last-minute guest, or simply indulgin extractg in a moment of pure, unadulterated joy.
Forget complicated steps and lengthy waiting periods. This recipe is designed for speed and simplicity, proving that incredible cookies don’t always require an oven. We’re talking about a fluffy, slightly chewy cookie with perfectly melted chocolate chips, all thanks to the magic of your microwave. It’s a game-changer for busy bakers and cookie enthusiasts alike. Get ready to discover your new go-to recipe for instant cookie happiness.
Ingredients:
Crafting Your Single-Serve Masterpiece
This recipe is designed for a single, glorious cookie. This means less waste, less cleanup, and more immediate cookie gratification. You’ll need a microwave-safe mug or a small ramekin for this endeavor. A standard-sized coffee mug works perfectly, but ensure it’s not too deep, as this can affect cooking time.
Step 1: The Wet Ingredients Foundation
Begin extract by combining your melted butter and sugars in your chosen mug or ramekin. Add the 2 tablespoons of melted unsalted butter to the mug. Then, add your 1 tablespoon of packed light brown sugar and 1 tablespoon of granulated sugar. The brown sugar contributes to that irresistible chewy texture and caramel-like flavor, while the granulated sugar adds a touch of crispness. Stir these ingredients together until they form a smooth, well-combined paste. Don’t worry if it looks a little glossy – that’s exactly what we want! This base is crucial for the cookie’s structure and sweetness.
Step 2: Infusing Flavor and Leavening
Next, we’ll add the flavor enhancers and the leavening agent. To the butter and sugar mixture, add your ¼ teaspoon of vanilla extract. This is where that classic cookie aroma really starts to shine. Following that, add your ¼ teaspoon of baking powder. Baking powder is essential for giving our cookie a little lift, making it fluffy rather than dense. Finally, add your ⅛ teaspoon of salt. Salt is a flavor enhancer; it balances the sweetness and brings out the best in the chocolate and butter. Stir everything together thoroughly until you have a uniform, fragrant mixture.
Step 3: Incorporating the Flour
Now it’s time to add the dry ingredient that will bind everything together: the flour. Gently add your 3 tablespoons of all-purpose flour to the mug. It’s best to add it gradually and mix it in, rather than dumping it all at once. This helps to prevent lumps and ensures an evenly incorporated dough. Stir with a small spoon or fork until just combined. Be careful not to overmix here; overmixing can lead to a tougher cookie. You want to see a thick, doughy consistency. It will be quite stiff.
Step 4: The Chocolatey Finnon-alcoholic ale
This is perhaps the most exciting step! Gently fold in your 2 tablespoons of semi-sweet chocolate chips. You can use milk chocolate chips or even dark chocolate if that’s your preference. Make sure they are evenly distributed throughout the dough. Some chips might sink a little, and that’s perfectly fine. These are the pockets of molten chocolate that will make your cookie truly divine.
Step 5: Microwave Magic and Perfect Doneness
Now for the moment of truth. Place your mug or ramekin in the center of your microwave. Microwave on high power for approximately 60 to 90 seconds. The exact time will vary depending on the wattage of your microwave and the depth of your mug. It’s better to start with the shorter time and add more in 10-second increments if needed. You’re looking for a cookie that is set around the edges but still looks slightly soft and underdone in the very center. The residual heat will continue to cook it as it cools. Overcooking will result in a dry, hard cookie, so err on the side of caution.
Step 6: The Cooling and Indulgence Phase
Once your cookie is out of the microwave, resist the urge to dive in immediately! Let it cool in the mug for at least 2-3 minutes. This is crucial for the cookie to firm up slightly and for the chocolate chips to achieve that perfect gooey, melted state. The center will continue to cook from the retained heat. For the ultimate experience, serve your warm, glorious microwave chocolate chip cookie with a scoop of cold vanilla ice cream. The contrast between the warm, gooey cookie and the cold, creamy ice cream is simply heavenly. You can also enjoy it on its own, savoring the rich chocolate and buttery flavor. This single-serving wonder is proof that you don’t need a lot of time or ingredients to create something truly delicious. Enjoy your instant gratification!
Conclusion:
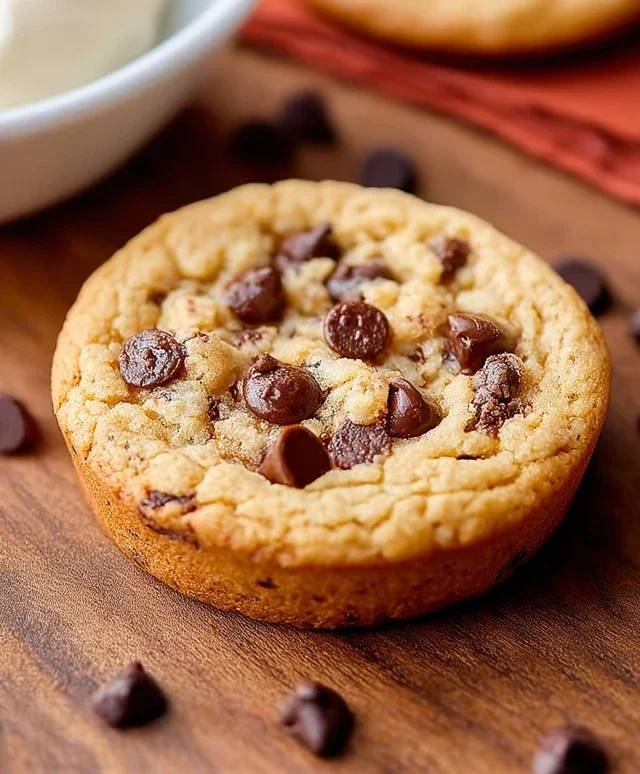
And there you have it! A wonderfully simple and incredibly satisfying microwave chocolate chip cookie recipe that’s perfect for those times when a sweet craving hits fast. This recipe is a true lifesaver, delivering a warm, gooey, and decadent cookie in mere minutes, no oven required. It’s the ultimate in instant gratification for any cookie lover.
Imagin extracte this: a freshly baked, still-warm cookie topped with a scoop of vanilla ice cream or a drizzle of caramel sauce. Pure bliss! These cookies are also fantastic on their own, perhaps with a glass of cold milk. Don’t be afraid to get creative! You can easily swap out the chocolate chips for white chocolate, butterscotch chips, or even add a sprinkle of sea salt on top for a sweet and salty kick. I truly encourage you to give this microwave chocolate chip cookie a try; you won’t be disappointed by how quickly and easily you can satisfy your sweet tooth.
Frequently Asked Questions:
Why is my microwave chocolate chip cookie dough dry?
This can happen if you’ve accidentally overcooked it or used too little wet ingredient. Ensure you measure your flour accurately and don’t microwave for longer than the recipe specifies. Microwaves vary in power, so start with the shortest recommended time and add 10-15 second increments if needed.
Can I make this recipe ahead of time?
While the magic of this recipe is its speed, you can technically prepare the cookie dough balls and store them in an airtight container in the refrigerator for a day or two before microwaving. However, for the best texture and freshest taste, I recommend making them right before you’re ready to enjoy them.
Can I use different types of chocolate chips?
Absolutely! Feel free to experiment with dark chocolate chips, milk chocolate chips, white chocolate chips, or even a mix. Butterscotch chips or chopped nuts can also be delicious additions to customize your microwave chocolate chip cookie.
Microwave Chocolate Chip Cookie
A quick and easy single-serving chocolate chip cookie made in the microwave.
Ingredients
-
2 Tablespoons unsalted butter, melted
-
1 Tablespoon light brown sugar, packed
-
1 Tablespoon granulated sugar
-
1/4 teaspoon baking powder
-
1/4 teaspoon vanilla extract
-
1/8 teaspoon salt
-
3 Tablespoons all-purpose flour
-
2 Tablespoons semi-sweet chocolate chips
-
Vanilla ice cream
Instructions
-
Step 1
In a microwave-safe mug or small bowl, combine the melted butter and both sugars. Stir until well combined. -
Step 2
Add the baking powder, vanilla extract, and salt to the mixture. Stir again. -
Step 3
Gradually stir in the all-purpose flour until just combined. Do not overmix. -
Step 4
Fold in the semi-sweet chocolate chips. -
Step 5
Microwave on high for 60-90 seconds, or until the cookie is set but still slightly soft in the center. -
Step 6
Let the cookie cool for a minute before topping with a scoop of vanilla ice cream.
Important Information
Nutrition Facts (Per Serving)
It is important to consider this information as approximate and not to use it as definitive health advice.
Allergy Information
Please check ingredients for potential allergens and consult a health professional if in doubt.