Easy Homemade Bread Recipe- Delicious & Simple
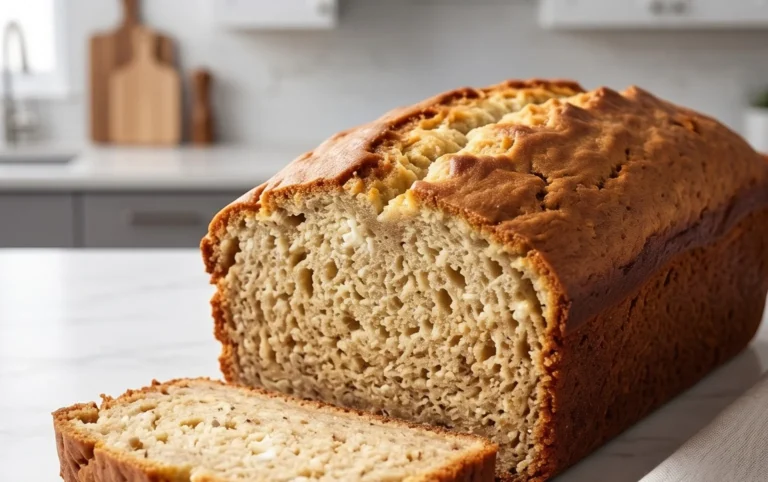
Homemade bread is more than just a recipe; it’s an experience. There’s an undeniable magic in transforming simple ingredients – flour, water, yeast, and salt – into a warm, fragrant loaf that fills your kitchen with an aroma that’s pure comfort. We love homemade bread for its unparalleled freshness, the satisfying chew of its crust, and the tender crum extractb within. It’s a labor of love, yes, but one that rewards you tenfold. Forget those perfectly uniform, often flavorless store-bought options. The true beauty of homemade bread lies in its slight imperfections, its unique character, and the deeply personal connection you forge with it as it rises and bakes. This recipe will guide you through creating a truly exceptional loaf that will have you ditching the bakery aisle for good. Get ready to discover the joy of truly spectacular homemade bread.
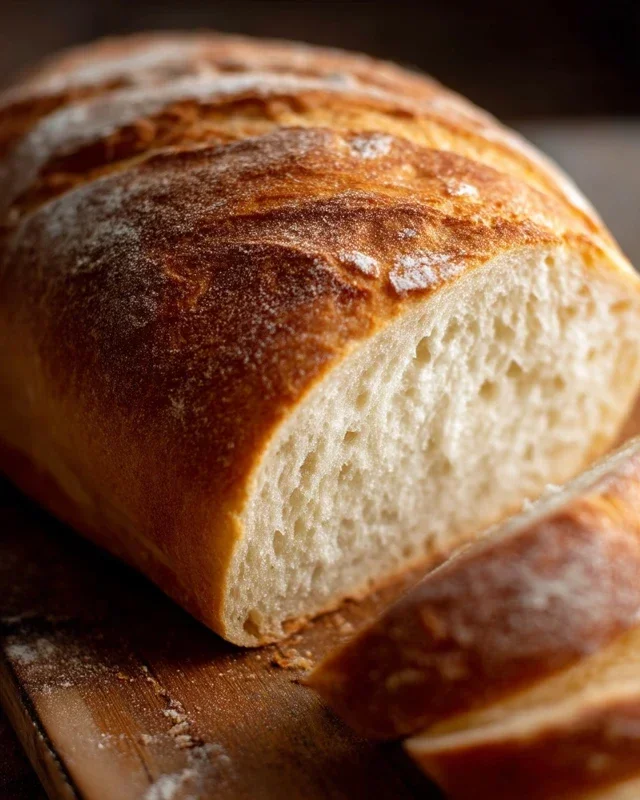
The Joy of Homemade Bread: A Simple Guide to Baking Your First Loaf
There’s something incredibly satisfying about pulling a warm, crusty loaf of homemade bread from your own oven. The aroma alone is enough to fill your home with a sense of comfort and accomplishment. Forget those days of relying solely on the bakery; with a few basic ingredients and a little patience, you can unlock the magic of creating your own delicious bread from scratch. This recipe is designed for begin extractners, so don’t be intimidated! We’ll walk through each step, ensuring you achieve a beautiful, flavorful loaf that will have everyone asking for seconds.
Ingredients:
Let’s Get Baking!
Step 1: Activating the Yeast – The Foundation of Your Loaf
The first crucial step is to wake up your yeast. In a large mixing bowl, combine the 2 cups of warm water. It’s important that the water is warm, but not hot, as excessively hot water can kill the yeast. The ideal temperature range is between 105 and 115 degrees Fahrenheit – think of it as comfortably warm to the touch, like a baby’s bath. To this warm water, add the 1 tablespoon of active dry yeast. If you’re using honey as your sweetener, stir in the 1/4 cup of honey now. If you’re opting for sugar, add that instead. The yeast will feed on the sugars, and you’ll see them get to work. Let this mixture sit undisturbed for about 5-10 minutes. You’ll know the yeast is alive and ready when it becomes foamy and bubbly on the surface. This indicates that the yeast is active and will help your bread rise beautifully. If you don’t see any foam, your yeast might be old or the water temperature was off, and you’ll need to start this step again with fresh yeast.
Step 2: Bringin extractg It All Together – Building the Dough
Once your yeast is happily bubbling, it’s time to introduce the other ingredients. To the activated yeast mixture, add the 2 teaspoons of salt and the 2 tablespoons of oil. The salt adds flavor and also helps control the yeast’s activity, while the oil contributes to a tender crum extractb and a softer crust. Now, it’s time to start adding the flour. Begin extract by adding 4 cups of the all-purpose or bread flour. Use a sturdy spoon or a dough whisk to mix everything together until it forms a shaggy, cohesive mass. Don’t worry if it seems a bit sticky at this stage; that’s perfectly normal.
Step 3: Kneading Your Way to Gluten Development
This is where the magic truly happens! Turn the shaggy dough out onto a lightly floured surface. Now, it’s time to knead. If you have a stand mixer with a dough hook, you can use that on a low speed for about 8-10 minutes. If you’re kneading by hand, which I highly recommend for the tactile experience, start pushing the dough away from you with the heels of your hands, then fold it back over itself. Rotate the dough a quarter turn and repeat. Continue this process for about 10-15 minutes. You’re aiming to develop the gluten in the flour, which is what gives bread its structure and chegrape juicess. As you knead, you’ll notice the dough becoming smoother, more elastic, and less sticky. If the dough is too sticky to handle, gradually add more flour, about a tablespoon at a time, until it’s manageable but still slightly tacky. The goal is not to add so much flour that the dough becomes tough.
Step 4: The First Rise – Letting the Dough Do Its Work
Once your dough is smooth and elastic, form it into a ball. Lightly grease a clean, large bowl with a little oil. Place the dough ball in the bowl and turn it over to coat it lightly with oil. This prevents a crust from forming on the dough as it rises. Cover the bowl tightly with plastic wrap or a clean, damp kitchen towel. Find a warm, draft-free spot for your dough to rise. This could be a slightly warm oven (turned off!), on top of your refrigerator, or simply on your counter if your kitchen is warm. Let the dough rise for about 1 to 1.5 hours, or until it has doubled in size. This process is called proofing, and it allows the yeast to ferment the sugars, creating carbon dioxide gas which makes the bread light and airy.
Step 5: Shaping and the Second Rise
Once your dough has doubled, gently punch it down to release the air. Turn the dough out onto your lightly floured surface again. Now, you can shape it into your desired loaf. For a classic sandwich loaf, gently flatten the dough into a rectangle and then roll it up tightly, pinching the seams closed. Place the shaped loaf into a greased loaf pan or onto a baking sheet lined with parchment paper. Cover the loaf loosely with plastic wrap or a damp towel and let it rise again for another 30-60 minutes, or until it’s visibly puffy and has almost doubled in size. This second rise is crucial for a light and airy texture in the final baked bread.
Step 6: Baking to Golden Perfection
Preheat your oven to 375 degrees Fahrenheit (190 degrees Celsius) while your loaf is doing its second rise. Once the oven is hot and the dough has finished its second rise, carefully place the loaf into the preheated oven. Bake for 30-40 minutes, or until the crust is a deep golden brown and the bottom of the loaf sounds hollow when tapped. If the crust starts to brown too quickly, you can loosely tent it with aluminum foil. To ensure your bread is fully cooked, the internal temperature should reach around 190-200 degrees Fahrenheit (88-93 degrees Celsius) when measured with an instant-read thermometer.
Step 7: Cooling – The Hardest Part!
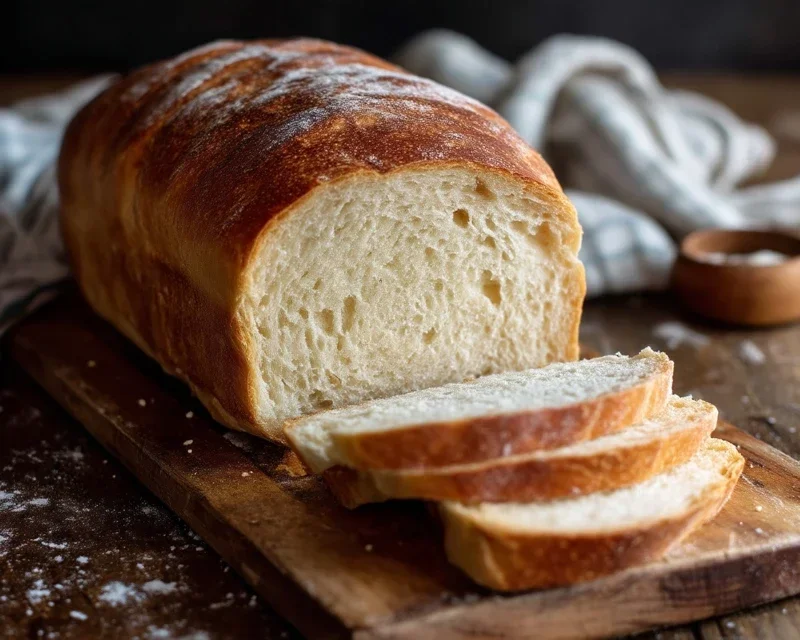
As soon as your beautiful loaf comes out of the oven, immediately remove it from the baking pan and place it on a wire cooling rack. This is perhaps the most challengin extractg part of the entire process – waiting! Resist the urge to slice into it right away. Allowing the bread to cool completely lets the internal structure set and the moisture to distribute evenly. Slicing too early can result in a gummy texture. Be patient, and the reward will be a perfectly textured, delicious homemade bread that you can be incredibly proud of. Enjoy every warm, comforting bite!
Conclusion:
There you have it! Crafting your very own loaf ofhomemade bread is a truly rewarding experience, transforming simple ingredients into something incredibly special. This recipe is fantastic because it demystifies the bread-making process, making it accessible even for begin extractners. The aroma that fills your kitchen as it bakes is unparalleled, and the taste of freshly baked bread, warm and slightly chewy, is simply divine. It’s a versatile base that pairs beautifully with everything from creamy butter and savory jams to hearty soups and stews. Don’t be afraid to experiment! Consider adding herbs like rosemary or thyme to the dough, a sprinkle of seeds on top before baking, or even a touch of sweetness with a drizzle of honey. I wholeheartedly encourage you to give this recipe a try. The satisfaction of pulling a golden-brown loaf from your oven is immense, and you’ll soon find yourself hooked on the joy of baking your own bread.
Frequently Asked Questions:
Why is my homemade bread not rising?
Several factors can affect rise. Ensure your yeast is fresh and active – test it by dissolving it in warm water with a pinch of sugar; it should get foamy. Make sure your water temperature is lukewarm, not too hot or too cold. Also, allow ample time for proofing in a warm, draft-free place. Overworking the dough can also hinder its rise, so be gentle during the kneading process.
Can I make this bread without a stand mixer?
Absolutely! This recipe is perfectly achievable by hand. Kneading by hand requires a bit more effort but is a wonderfully tactile experience. Spend about 10-15 minutes kneading until the dough is smooth and elastic. You’ll build strength and a deep appreciation for your delicious loaf!
Homemade Bread
A simple and delicious recipe for homemade bread, perfect for sandwiches or toasting.
Ingredients
-
2 cups warm water (105-115 degrees)
-
1 Tablespoons active dry yeast
-
1/4 cup honey
-
2 teaspoons salt
-
2 Tablespoons canola oil
-
4 – 5 1/2 cups all-purpose flour
Instructions
-
Step 1
In a large bowl, combine the warm water and honey. Sprinkle the yeast over the water and let it sit for 5-10 minutes until foamy. -
Step 2
Stir in the salt and oil. -
Step 3
Gradually add the flour, 1 cup at a time, mixing until a shaggy dough forms. You may not need all of the flour. -
Step 4
Turn the dough out onto a lightly floured surface and knead for 8-10 minutes until smooth and elastic. -
Step 5
Place the dough in a greased bowl, cover, and let rise in a warm place for about 1 hour, or until doubled in size. -
Step 6
Punch down the dough and shape it into a loaf. Place in a greased loaf pan. -
Step 7
Bake in a preheated oven at 375°F (190°C) for 30-35 minutes, or until golden brown and the internal temperature reaches 200°F (93°C).
Important Information
Nutrition Facts (Per Serving)
It is important to consider this information as approximate and not to use it as definitive health advice.
Allergy Information
Please check ingredients for potential allergens and consult a health professional if in doubt.