Easy Fresh Strawberry Pie Recipe-Taste of Summer
Fresh strawberry pie is more than just a dessert; it’s a vibrant celebration of summer’s sweetest bounty. Imagin extracte this: plump, ruby-red strawberries, bursting with sunshine-sweet flavor, suspended in a glistening, jewel-toned glaze, all nestled within a flaky, golden crust. Is there anything more iconic of warm-weather gatherings and lazy afternoons? I think not! This fresh strawberry pie captures the essence of the season like no other. It’s a dish that evokes nostalgia, conjures memories of childhood picnics, and brings a collective sigh of contentment with every single bite. What truly makes it special is its simplicity, allowing the pure, unadulterated taste of perfectly ripe strawberries to shine through, making this fresh strawberry pie an absolute showstopper, year after year.
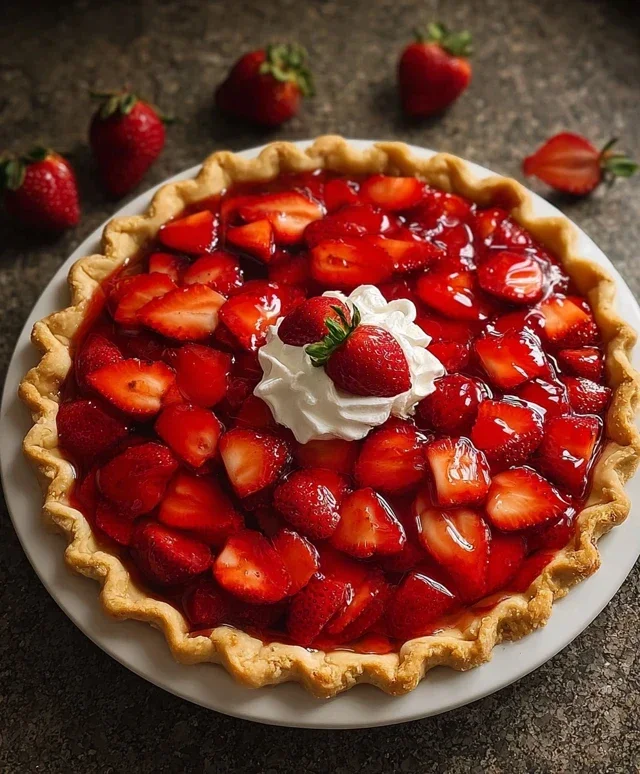
Fresh Strawberry Pie
There’s something truly magical about a fresh strawberry pie. The vibrant color, the sweet-tart burst of flavor, and that glossy, shimmering filling – it’s a classic for a reason. This recipe is surprisingly simple, making it perfect for both seasoned bakers and those new to the kitchen. We’ll be using a pre-made crust to save you time, so you can focus on the star of the show: ripe, juicy strawberries. Get ready to impress your friends and family with this delightful dessert that tastes like pure summer!
Ingredients:
Cooking Instructions:
First things first, let’s get that pie crust ready. You’ll want to take your frozen pie crust out of the freezer and let it thaw according to the package directions. This usually means leaving it on the counter for about 10-15 minutes. Once it’s pliable enough to handle but still cold, gently press it into your pie plate. I like to crimp the edges decoratively for a more polished look, but don’t worry if you’re not a fan of fancy crusts; a simple press with a fork will do just fine. Then, pop the prepared crust into the refrigerator while we work on the filling. Keeping it cold helps prevent it from shrinking or losing its shape as it bakes.
Now for the star of our show – the strawberry filling! In a medium saucepan, whisk together the 1 1/4 cups of sugar and the 3 tablespoons of cornstarch. It’s really important to mix these dry ingredients thoroughly before adding any liquid. This step helps prevent lumps from forming in your filling later on, ensuring a smooth and silky texture. Once they’re well combined, gradually whisk in the 1 1/4 cups of water. Keep whisking until you have a smooth, lump-free mixture.
Place the saucepan over medium heat. Stir constantly as the mixture begin extracts to thicken. This is where the magic of the cornstarch comes into play, transforming our watery mixture into a luscious glaze. Continue to cook and stir until the mixture comes to a boil and has thickened considerably, about 5-7 minutes. Once it reaches a rolling boil, let it boil for one minute, still stirring continuously. This ensures that the cornstarch is fully activated and that your filling will set up beautifully. After that minute, remove the saucepan from the heat.
This next step is key to adding that extra layer of strawberry flavor and a gorgeous, glossy finish. Stir in the 3 tablespoons of strawberry jelly. The heat from the cornstarch mixture will melt the jelly quickly, distributing its fruity goodness throughout the glaze. You want to stir until the jelly is completely incorporated and the mixture is smooth and shimmering. The jelly not only adds a delightful sweetness and more intense strawberry taste but also contributes to that beautiful, transparent sheen that makes a strawberry pie so irresistible. Let this mixture cool for about 15-20 minutes. It needs to cool down enough so it doesn’t “cook” the fresh strawberries when we add them, but it should still be warm enough to coat them nicely.
Finally, it’s time to assemble our pie! Gently fold the 2 cups of sliced strawberries into the slightly cooled filling mixture. Be delicate with your strawberries to avoid bruising them too much. You want them to be evenly coated in the glossy glaze. Now, carefully pour this vibrant strawberry mixture into your chilled, prepared pie crust. Spread it out evenly using a spatula or the back of a spoon, making sure all those beautiful strawberry slices are nestled in the filling.
Now, we bake! Place your assembled pie on a baking sheet (this is always a good idea to catch any potential drips). Bake in a preheated oven at 375 degrees Fahrenheit (190 degrees Celsius) for about 20-25 minutes, or until the crust is golden brown and the filling is set and slightly bubbly around the edges. Once it’s out of the oven, let the pie cool completely on a wire rack. This is the hardest part, I know! It’s crucial for the filling to set properly. Resist the urge to slice into it while it’s still warm, as the filling might be too soft. It’s best to let it cool for at least 2-3 hours, or even better, refrigerate it for a few hours before serving. Serving this pie chilled is truly the best way to experience its delightful texture and refreshing flavor. Enjoy every sweet, fruity bite!
Conclusion:
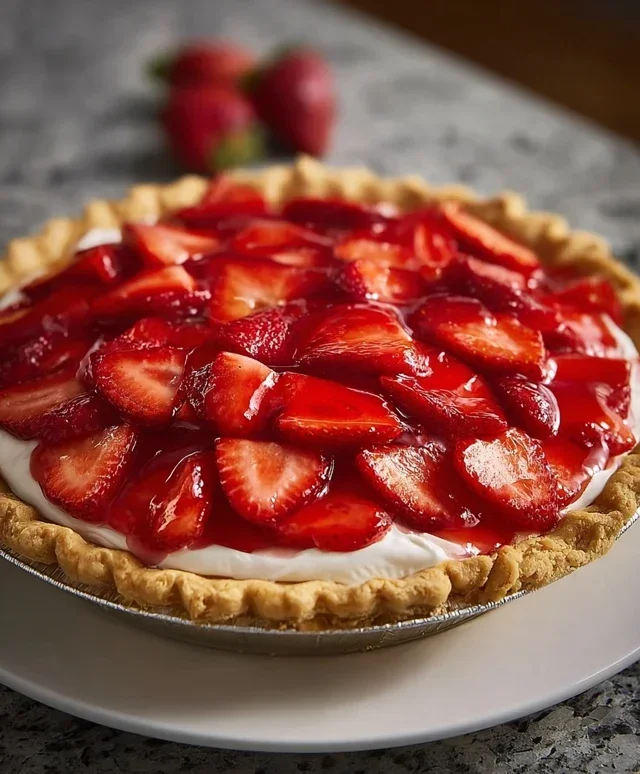
There you have it! A simple yet spectacular fresh strawberry pie that truly celebrates the vibrant flavors of summer. This recipe is a winner because it’s incredibly easy to make, requiring minimal cooking and letting the natural sweetness of the strawberries shine. The combination of a crisp, buttery crust and a luscious, slightly tart strawberry filling is simply irresistible. It’s the perfect dessert for picnics, potlucks, or just a delightful treat to brighten your day.
For serving, I love to enjoy a generous slice with a dollop of freshly whipped cream or a scoop of vanilla bean ice cream. The contrast in textures and temperatures is divine! If you’re feeling adventurous, consider variations like adding a hint of lemon zest to the filling for an extra zing, or topping it with a sprinkle of toasted almonds for added crunch.
I truly encourage you to give this fresh strawberry pie a try. It’s a rewarding bake that’s sure to impress everyone who tastes it. Happy baking!
Frequently Asked Questions:
Can I use frozen strawberries?
While fresh strawberries are ideal for this recipe to achieve the best flavor and texture, you can use frozen strawberries. Thaw them completely and drain them very well to remove as much excess liquid as possible. Be aware that the filling might be a bit softer than with fresh berries.
How long will this pie last?
This pie is best enjoyed within 2-3 days. Store any leftovers loosely covered in the refrigerator. The crust may soften over time, so for the crispiest result, it’s best to eat it sooner rather than later.
Fresh Strawberry Pie
A delightful and easy fresh strawberry pie with a vibrant filling.
Ingredients
-
1 frozen pie crust
-
1 1/4 cups sugar
-
3 tablespoons cornstarch
-
1 1/4 cups water
-
3 tablespoons strawberry jelly
-
2 cups strawberries, sliced
Instructions
-
Step 1
Bake the frozen pie crust according to package directions until lightly golden. Let it cool completely. -
Step 2
In a medium saucepan, whisk together the sugar and cornstarch. -
Step 3
Gradually whisk in the water until smooth. -
Step 4
Cook over medium heat, stirring constantly, until the mixture thickens and boils. Boil for 1 minute. -
Step 5
Remove from heat and stir in the strawberry jelly until melted and combined. -
Step 6
Gently fold in the sliced strawberries. -
Step 7
Pour the strawberry mixture into the cooled, baked pie crust. -
Step 8
Chill the pie for at least 3-4 hours, or until firm.
Important Information
Nutrition Facts (Per Serving)
It is important to consider this information as approximate and not to use it as definitive health advice.
Allergy Information
Please check ingredients for potential allergens and consult a health professional if in doubt.