Crispy Country Fried Chicken Recipe – A Southern Classic
Country fried chicken isn’t just a meal; it’s a feeling. It’s the warm hug of comfort food, the echo of childhood dinners, and the undeniable taste of home. There’s a reason this classic dish has stood the test of time, captivating palates across generations. Its allure lies in that perfect symphony of textures and flavors: a shatteringly crisp, golden-brown crust giving way to impossibly tender, juicy chicken within. It’s the kind of meal that makes you slow down, savor every bite, and perhaps even reach for a second helping before you even realize it. What truly sets exceptional country fried chicken apart is the balance – the savory brine that infuses the meat, the seasoned flour dredge that creates that iconic crunch, and the careful cooking method that ensures no bite is dry or bland.
The Secret to Perfect Country Fried Chicken
Today, we’re diving deep into the heart of what makes this dish so beloved. Forget the restaurant versions that can sometimes disappoint. We’re going to unlock the secrets to achieving that restaurant-quality, soul-satisfying country fried chicken right in your own kitchen.
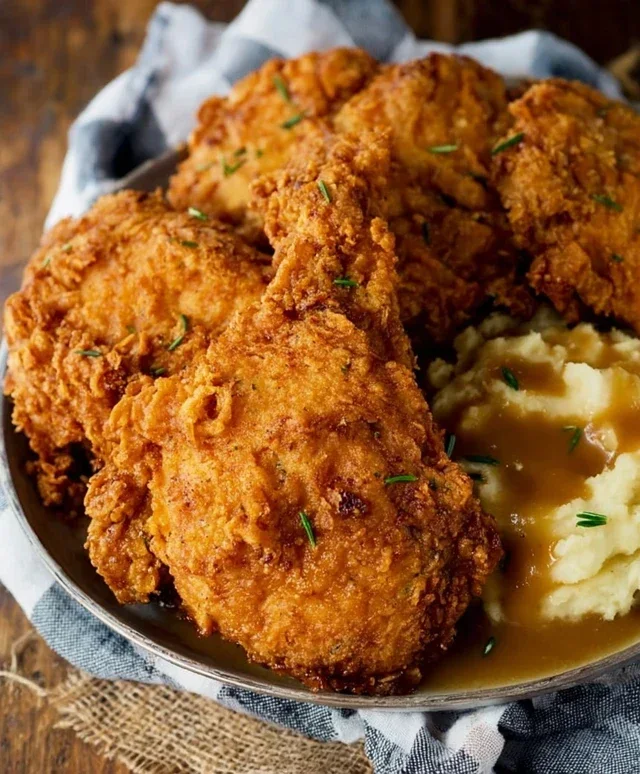
Country Fried Chicken
There’s something undeniably comforting about a plate piled high with perfectly fried chicken. The golden-brown, crispy exterior gives way to juicy, tender meat, and it’s a dish that brings a smile to everyone’s face. Today, we’re diving into the delicious world of country fried chicken, a classic that’s surprisingly achievable in your own kitchen. Forget those fast-food versions; we’re going for the real deal, the kind that tastes like it came straight from Grandma’s kitchen. The secret lies in a few simple techniques and the right blend of seasonings. Let’s get started on creating this beloved comfort food!
Ingredients:
Preparing the Chicken
Our first step is to get the chicken ready for its transformation into crispy perfection. Take your 4 boneless, skinless chicken breasts and lay them on a clean cutting board. You’ll want to trim away any excess fat. Now, for that tender interior, we’re going to butterfly or pound them. To butterfly, slice each breast horizontally almost all the way through, then open it up like a book. This creates thinner, more even pieces that cook more quickly and uniformly. Alternatively, you can place each chicken breast between two pieces of plastic wrap or in a sturdy zip-top bag and gently pound them with a meat mallet or the flat side of a heavy pan. Aim for a thickness of about ½ to ¾ inch. This ensures that the chicken cooks through before the breading has a chance to burn. Season the chicken generously on both sides with 1 ½ teaspoons of the regular salt. This initial salting helps to season the meat from the inside out.
The Buttermilk Bath
This is where the magic truly begin extracts. In a medium bowl, combine the 2 cups of buttermilk and the 2 whisked eggs. This creates a rich, custardy coating that will help our breading adhere beautifully to the chicken and also contributes to a more tender final product. Add the remaining 1 ½ teaspoons of salt to the buttermilk mixture and stir to combine. Now, place your prepared chicken breasts into the buttermilk mixture, ensuring each piece is fully submerged. Cover the bowl and refrigerate for at least 30 minutes, but for best results, I recommend letting it marinate for 2 to 4 hours. The longer it marinates, the more tender and flavorful your chicken will become. The buttermilk works to break down the chicken’s proteins, making it incredibly tender.
Creating the Crispy Coating
While the chicken is marinating, it’s time to prepare our dredgin extractg station, which is crucial for achieving that signature crispy crust. In a shallow dish or pie plate, combine the 1 ½ cups of all-purpose flour, ½ cup of breadcrum extractbs, 2 ½ teaspoons of seasoned salt, ¾ teaspoon of paprika, ½ teaspoon of cayenne pepper, and 1 ½ teaspoons of black pepper. Whisk everything together thoroughly. Make sure all the seasonings are evenly distributed throughout the flour and breadcrum extractb mixture. This blend of spices is what gives our country fried chicken its characteristic flavor and a beautiful golden hue. The breadcrum extractbs add an extra layer of crispiness that you just can’t get from flour alone.
Breading the Chicken
Once the chicken has had ample time to marinate, it’s time to bread it. Remove one piece of chicken from the buttermilk mixture, letting any excess drip off for a moment. Place the chicken into the seasoned flour mixture. Press the chicken down gently to ensure it’s thoroughly coated on all sides. Lift the chicken and let any excess flour fall away. Now, dip the breaded chicken piece back into the buttermilk mixture for a second time. This double-dip method is key to building a thick, super-crispy crust that stays on the chicken during frying. Immediately after the second dip in buttermilk, place the chicken back into the seasoned flour mixture and coat it again, pressing firmly to create a substantial layer of breading. Place the breaded chicken pieces on a wire rack set over a baking sheet. Let the breaded chicken rest for about 10-15 minutes. This resting period allows the breading to adhere better to the chicken and helps prevent it from falling off during the frying process.
Frying to Golden Perfection
Now for the exciting part – frying! In a large, heavy-bottomed skillet, heat the 1 ½ cups of vegetable oil over medium-high heat. You want the oil to be hot enough for the chicken to sizzle immediately upon contact, but not so hot that the breading burns before the chicken cooks through. A good temperature to aim for is around 350°F (175°C). If you don’t have a thermometer, you can test the oil by dropping a tiny bit of the flour mixture into it. If it sizzles and floats to the surface immediately, the oil is ready. Carefully place 2 chicken breasts into the hot oil, ensuring not to overcrowd the pan. Overcrowding will lower the oil temperature and result in greasy, soggy chicken. Fry for about 5-7 minutes per side, or until the chicken is deeply golden brown and cooked through. The internal temperature of the chicken should reach 165°F (74°C). Use tongs to carefully remove the chicken from the skillet and place it on a clean wire rack set over a baking sheet. This allows excess oil to drain off, keeping the chicken crispy. If you have more chicken to fry, allow the oil to return to temperature before adding the next batch.
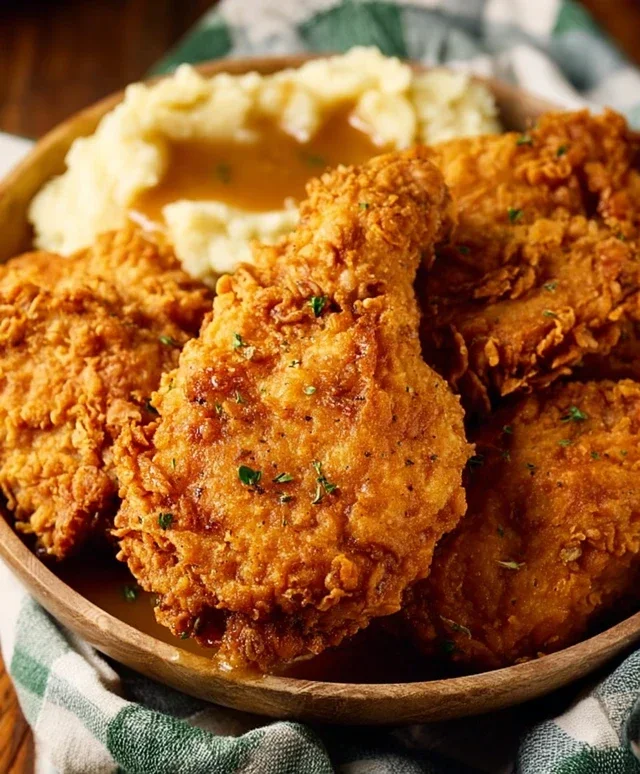
Enjoy your delicious, homemade country fried chicken! It’s perfect served with mashed potatoes, gravy, and your favorite vegetable.
Conclusion:
So there you have it! This country fried chicken recipe is an absolute winner. It delivers that perfect crispy, golden exterior that cracks with every bite, while keeping the inside incredibly juicy and tender. It’s a true taste of comfort food, perfect for a family dinner, a weekend treat, or even impressing guests. The simplicity of the ingredients combined with the foolproof method means even novice cooks can achieve spectacular results.
To really elevate your experience, I highly recommend serving this delicious country fried chicken with classic Southern sides like creamy mashed potatoes and gravy, a vibrant coleslaw, or some fluffy buttermilk biscuits. For a lighter touch, a fresh green salad or steamed green beans would be fantastic. Don’t be afraid to experiment with this recipe! You can try different herb blends in your flour mixture, perhaps adding a pinch of paprika or cayenne for a subtle kick, or even using buttermilk in your brine for extra tenderness.
I truly encourage you to give this country fried chicken a try. It’s a recipe that will become a staple in your kitchen. Get ready for rave reviews and happy, satisfied eaters!
Frequently Asked Questions:
Can I make this country fried chicken ahead of time?
While it’s best enjoyed fresh for maximum crispiness, you can certainly prepare the chicken pieces beforehand. Dredge them in the flour mixture and place them on a wire rack set over a baking sheet, then refrigerate. When you’re ready to cook, fry them directly from the refrigerator, though they might take a minute or two longer to cook through. Reheating fried chicken can sometimes make it a bit soggy, so frying just before serving is ideal.
What’s the secret to extra crispy chicken skin?
Several factors contribute to that coveted crunch! Ensure your oil is hot enough (around 350°F or 175°C) before adding the chicken. Don’t overcrowd the pan, as this can lower the oil temperature and lead to greasy chicken. Also, letting the dredged chicken rest for about 10-15 minutes before frying helps the coating adhere better and become crispier. Some people also swear by adding a bit of cornstarch to their flour mixture for an extra crisp factor.
Country Fried Chicken
Crispy and flavorful country-style fried chicken, perfect for a hearty meal.
Ingredients
-
4 boneless skinless chicken breasts
-
1 ½ cups vegetable oil
-
2 cups buttermilk
-
2 large eggs (whisked)
-
3 teaspoons salt
-
1 ½ cup all-purpose flour
-
½ cup breadcrumbs
-
2 ½ teaspoons seasoned salt
-
¾ teaspoon paprika
-
½ teaspoon cayenne pepper
-
1 ½ teaspoon black pepper
Instructions
-
Step 1
Cut chicken breasts into bite-sized pieces. In a bowl, combine buttermilk and eggs. Add chicken pieces, ensuring they are fully submerged. Marinate for at least 30 minutes, or up to 4 hours in the refrigerator. -
Step 2
In a shallow dish, whisk together flour, salt, breadcrumbs, seasoned salt, paprika, cayenne pepper, and black pepper. -
Step 3
Remove chicken pieces from the buttermilk mixture, letting excess drip off. Dredge each piece thoroughly in the flour mixture, pressing to coat well. -
Step 4
Heat vegetable oil in a large skillet over medium-high heat until it reaches 350°F (175°C). -
Step 5
Carefully add chicken pieces to the hot oil, being careful not to overcrowd the pan. Fry in batches for 4-6 minutes per side, or until golden brown and cooked through. -
Step 6
Remove chicken from skillet and drain on a wire rack or paper towels.
Important Information
Nutrition Facts (Per Serving)
It is important to consider this information as approximate and not to use it as definitive health advice.
Allergy Information
Please check ingredients for potential allergens and consult a health professional if in doubt.