Strawberry Cheesecake Tacos-Easy Dessert Recipe
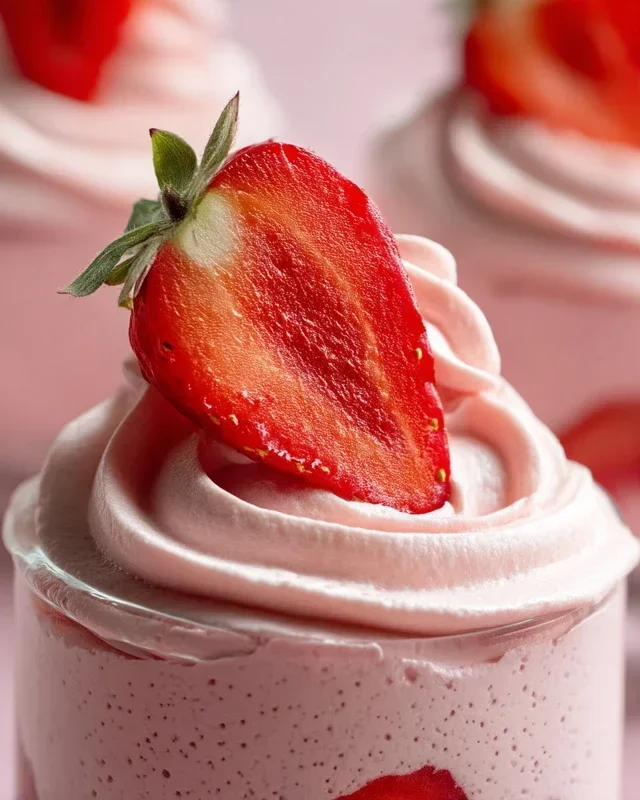
Get ready to tantalize your taste buds with the ultimate fusion of creamy, fruity, and delightfully decadent: Strawberry Cheesecake Dessert Tacos! Who knew that the humble taco could transform into such a divine sweet treat? We’ve taken the beloved flavors of classic strawberry cheesecake and reimagin extracted them in a fun, handheld format that’s guaranteed to be a showstopper at any gathering or a blissful indulgence just for yourself. These Strawberry Cheesecake Dessert Tacos capture everything we adore about that iconic dessert – the smooth, tangy cheesecake filling, the sweet burst of fresh strawberries, and the satisfying crunch – all wrapped up in a playful, edible shell. What makes them truly special is their ability to deliver all that familiar comfort and joy in a completely new and exciting way. Prepare to be amazed by how simple yet extraordinary these Strawberry Cheesecake Dessert Tacos are!
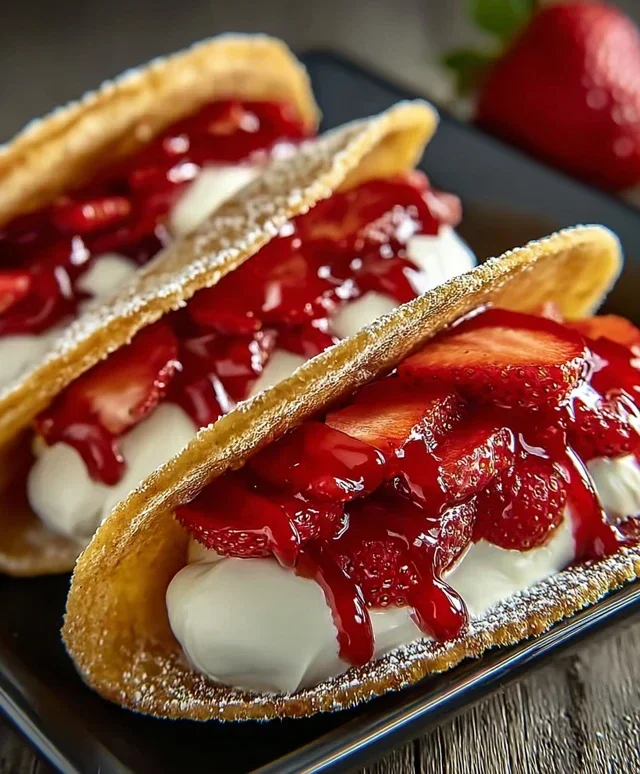
Strawberry Cheesecake Dessert Tacos
Get ready for a dessert that’s as fun to eat as it is to make! These Strawberry Cheesecake Dessert Tacos are a delightful fusion of creamy, fruity, and slightly spiced flavors, all wrapped up in a warm, crispy tortilla shell. Imagin extracte the tangy sweetness of cheesecake, the vibrant burst of fresh strawberries, and the comforting warmth of a cinnamon-sugar shell – all in one bite. They’re perfect for a playful dessert party, a fun family activity, or simply when you’re craving something a little bit special and wonderfully unique.
Ingredients:
Instructions:
Step 1: Preparing the Taco Shells
The foundation of our delightful dessert tacos are these crisp, cinnamon-sugar shells. Begin extract by preheating your oven to 350°F (175°C). In a shallow dish or a pie plate, combine the ½ cup of granulated sugar and 1 tablespoon of ground cinnamon. Stir this mixture well until the cinnamon is evenly distributed throughout the sugar. This spiced sugar mixture is what will give our tortilla shells that irresistible sweet and slightly warm flavor. Next, take your melted unsalted butter and place it in another shallow dish.
Now, for the shaping: take one flour tortilla at a time and dip both sides into the melted butter, ensuring it’s lightly coated. Don’t drench it, just a good, even coating. Then, dredge each buttered tortilla into the cinnamon-sugar mixture, pressing gently so the sugar and cinnamon adhere to both sides. Once coated, carefully drape each tortilla over the bars of your oven rack, forming a taco shape. You can also use crum extractpled aluminum foil to help them hold their shape if needed, or even taco holders if you have them. Bake for about 8-12 minutes, or until the tortillas are golden brown and crispy. Keep a close eye on them as they can go from perfectly crisp to burnt very quickly! Once they’re beautifully golden and firm, remove them from the oven and let them cool completely on the oven rack. They will become even crispier as they cool.
Step 2: Crafting the Creamy Cheesecake Filling
While our taco shells are cooling and crisping up, let’s whip up the luscious cheesecake filling that’s going to be the star of our dessert. In a medium bowl, place your softened cream cheese. It’s crucial that the cream cheese is softened to room temperature so that it blends smoothly without any lumps. Add the ½ cup of powdered sugar to the cream cheese. Powdered sugar, also known as confectioners’ sugar, is essential here because it dissolves easily and adds sweetness without any grittiness. Next, add the 1 teaspoon of vanilla extract for that classic cheesecake aroma and flavor.
Using an electric mixer (handheld or stand mixer) or a sturdy whisk, beat the cream cheese, powdered sugar, and vanilla extract together until the mixture is incredibly smooth, creamy, and well combined. Scrape down the sides of the bowl occasionally to ensure everything is incorporated. Once you have a smooth base, it’s time to lighten it up. In a separate, clean bowl, whip the ½ cup of heavy whipping cream until stiff peaks form. Stiff peaks mean that when you lift the whisk or beaters, the cream holds its shape and doesn’t droop. Gently fold the whipped cream into the cream cheese mixture. Folding means using a spatula to gently incorporate the whipped cream without deflating it, preserving its airy texture. This will give us a light and fluffy cheesecake filling that’s reminiscent of actual cheesecake but much easier to manage in a taco.
Step 3: Simmering the Strawberry Topping
No cheesecake dessert is complete without a delightful fruit topping, and our strawberry topping is no exception! In a small saucepan, combine the 1 cup of chopped fresh or frozen strawberries. If you’re using frozen strawberries, you won’t need to thaw them first; they’ll break down as they cook. Add the ¼ cup of granulated sugar and the 1 tablespoon of lemon juice. The lemon juice not only adds a subtle tang that balances the sweetness of the strawberries but also helps to brighten their flavor. Stir these ingredients together.
Place the saucepan over medium heat and bring the mixture to a gentle simmer, stirring occasionally. As the strawberries begin extract to heat up, they will release their juices. Once the mixture is simmering and the strawberries have softened, it’s time to thicken it slightly. In a small cup or bowl, mix the 1 tablespoon of cornstarch with 2 tablespoons of water until you have a smooth slurry with no lumps. Slowly pour this cornstarch slurry into the simmering strawberry mixture while stirring continuously. Continue to stir and cook for about 1-2 minutes, or until the topping has thickened to a jam-like consistency. You’re looking for a consistency that will cling to the tacos and not run off. Remove from heat and let it cool. This topping will be a vibrant, slightly chunky sauce.
Step 4: Assembling the Dessert Tacos
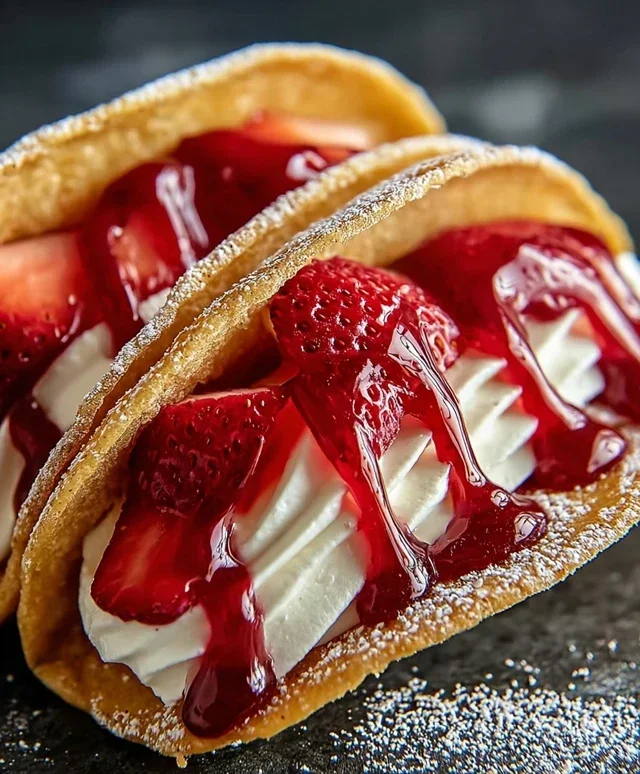
Now for the most exciting part – assembling our Strawberry Cheesecake Dessert Tacos! Once your cinnamon-sugar shells have completely cooled and are nice and crisp, you’re ready to fill them. Carefully take one shell and spoon a generous amount of the creamy cheesecake filling into the bottom. Don’t be shy; you want a good dollop of that delicious filling. Then, top the cheesecake filling with a spoonful of the cooled strawberry topping. You can spread it out a bit or leave it in a lovely dollop, depending on your preference.
Repeat this process for all six taco shells. For an extra touch of elegance and flavor, you can garnish your dessert tacos. Fresh mint leaves add a pop of color and a hint of freshness, while a sprinkle of extra cinnamon or some finely chopped nuts (like pecans or walnuts) can add texture and depth. If you’re feeling particularly decadent, a drizzle of white chocolate or caramel sauce would also be divine!
Step 5: Serving and Enjoying
These Strawberry Cheesecake Dessert Tacos are best served immediately after assembly to enjoy the perfect contrast between the warm, crisp shell and the cool, creamy filling. The warmth of the shell from the oven will gradually fade, and the crispness is at its peak right after they’ve cooled. If you happen to have any leftover filling or strawberry topping, they are delicious on their own or can be used as dips for fruit. This recipe is designed for immediate enjoyment, but if you need to store them, it’s best to store the components separately. Keep the cooled taco shells in an airtight container at room temperature, the cheesecake filling in an airtight container in the refrigerator, and the strawberry topping in an airtight container in the refrigerator. Assemble just before serving for the best experience. Get ready for smiles all around as everyone digs into these delightful treats!
Conclusion:
So there you have it – the ultimate guide to creating your very own Strawberry Cheesecake Dessert Tacos! I truly believe this recipe is a winner because it perfectly marries the creamy, decadent indulgence of cheesecake with the fun, handheld convenience of a taco. The vibrant sweetness of fresh strawberries cuts through the richness, making each bite a delightful balance of flavors and textures. Whether you’re looking for a show-stopping dessert for a party, a unique treat for a special occasion, or simply a fun way to satisfy your sweet tooth, these dessert tacos are sure to impress.
I love serving these as a fun dessert after a barbecue or as a sweet ending to a brunch. They’re also fantastic for a themed party! Don’t be afraid to get creative with your toppings. Consider adding a drizzle of chocolate sauce, a sprinkle of chopped nuts, or even a dusting of grabeef ham cracker crum extractbs for extra texture. The possibilities are endless, and the joy of creating these Strawberry Cheesecake Dessert Tacos is as rewarding as enjoying them. I wholeheartedly encourage you to give this recipe a try – you won’t regret it!
Frequently Asked Questions:
Can I make the taco shells ahead of time?
Yes, absolutely! You can prepare the dessert taco shells a day in advance and store them in an airtight container at room temperature to maintain their crispness. Just fill them right before serving to prevent them from getting soggy.
What are some good non-strawberry variations?
You can easily adapt this recipe! For a chocolate lover’s dream, try a chocolate ganache filling with raspberries. Blueberry compote or a mix of mixed berries would also be delicious. For a tropical twist, consider a mango and lime filling. The creamy cheesecake base is incredibly versatile!
How should I store leftover dessert tacos?
It’s best to store the components separately if you have leftovers. Keep the filling chilled in the refrigerator and the taco shells in an airtight container at room temperature. Assemble them fresh when you’re ready to enjoy them again.
Strawberry Cheesecake Dessert Tacos
A delightful twist on dessert tacos, featuring creamy cheesecake filling and a sweet strawberry topping, all served in cinnamon-sugar dusted tortillas.
Ingredients
-
6 small flour tortillas
-
½ cup granulated sugar
-
1 tbsp ground cinnamon
-
½ cup unsalted butter, melted
-
8 oz cream cheese, softened
-
½ cup powdered sugar
-
1 tsp vanilla extract
-
½ cup heavy whipping cream
-
1 cup fresh or frozen strawberries, chopped
-
¼ cup granulated sugar
-
1 tbsp lemon juice
-
1 tbsp cornstarch mixed with 2 tbsp water
Instructions
-
Step 1
Preheat oven to 375°F (190°C). In a small bowl, combine ½ cup granulated sugar and 1 tbsp ground cinnamon. -
Step 2
Brush both sides of the flour tortillas with the melted unsalted butter. Sprinkle generously with the cinnamon-sugar mixture. Place each tortilla over two oven-safe ramekins or muffin tins to create a taco shell shape. Bake for 8-10 minutes, or until golden brown and crisp. -
Step 3
While the taco shells are baking, prepare the cheesecake filling. In a medium bowl, beat the softened cream cheese until smooth. Gradually add the powdered sugar and vanilla extract, beating until well combined. -
Step 4
In a separate bowl, whip the heavy whipping cream until stiff peaks form. Gently fold the whipped cream into the cream cheese mixture. -
Step 5
Prepare the strawberry topping. In a small saucepan, combine the chopped strawberries, ¼ cup granulated sugar, and lemon juice. Cook over medium heat until strawberries soften, about 5 minutes. -
Step 6
Stir in the cornstarch mixture and cook, stirring constantly, until the sauce thickens, about 2 minutes. Remove from heat and let cool slightly. -
Step 7
Once the taco shells are cooled, fill each with the cheesecake mixture and top generously with the strawberry sauce.
Important Information
Nutrition Facts (Per Serving)
It is important to consider this information as approximate and not to use it as definitive health advice.
Allergy Information
Please check ingredients for potential allergens and consult a health professional if in doubt.