Easy Dill Dip Recipe- Creamy & Delicious Crowd Pleaser
Dill Dip is more than just a condiment; it’s an invitation to pure, unadulterated snacking bliss. We’ve all been there – staring into the fridge, a craving for something fresh and flavorful hitting us hard. That’s precisely where this magical Dill Dip swoops in to save the day. It’s the undisputed cbeef hampion of party appetizers, the perfect partner for crunchy vegetables, and frankly, just a joy to scoop straight from the bowl with a sturdy cracker. What makes this particular Dill Dip so special? It’s that vibrant, herbaceous punch from fresh dill, perfectly balanced by a creamy, tangy base that keeps you coming back for more. Forget those bland, store-bought versions; this homemade Dill Dip is bursting with bright, authentic flavor that will have everyone asking for the recipe. Get ready to elevate your dip game!
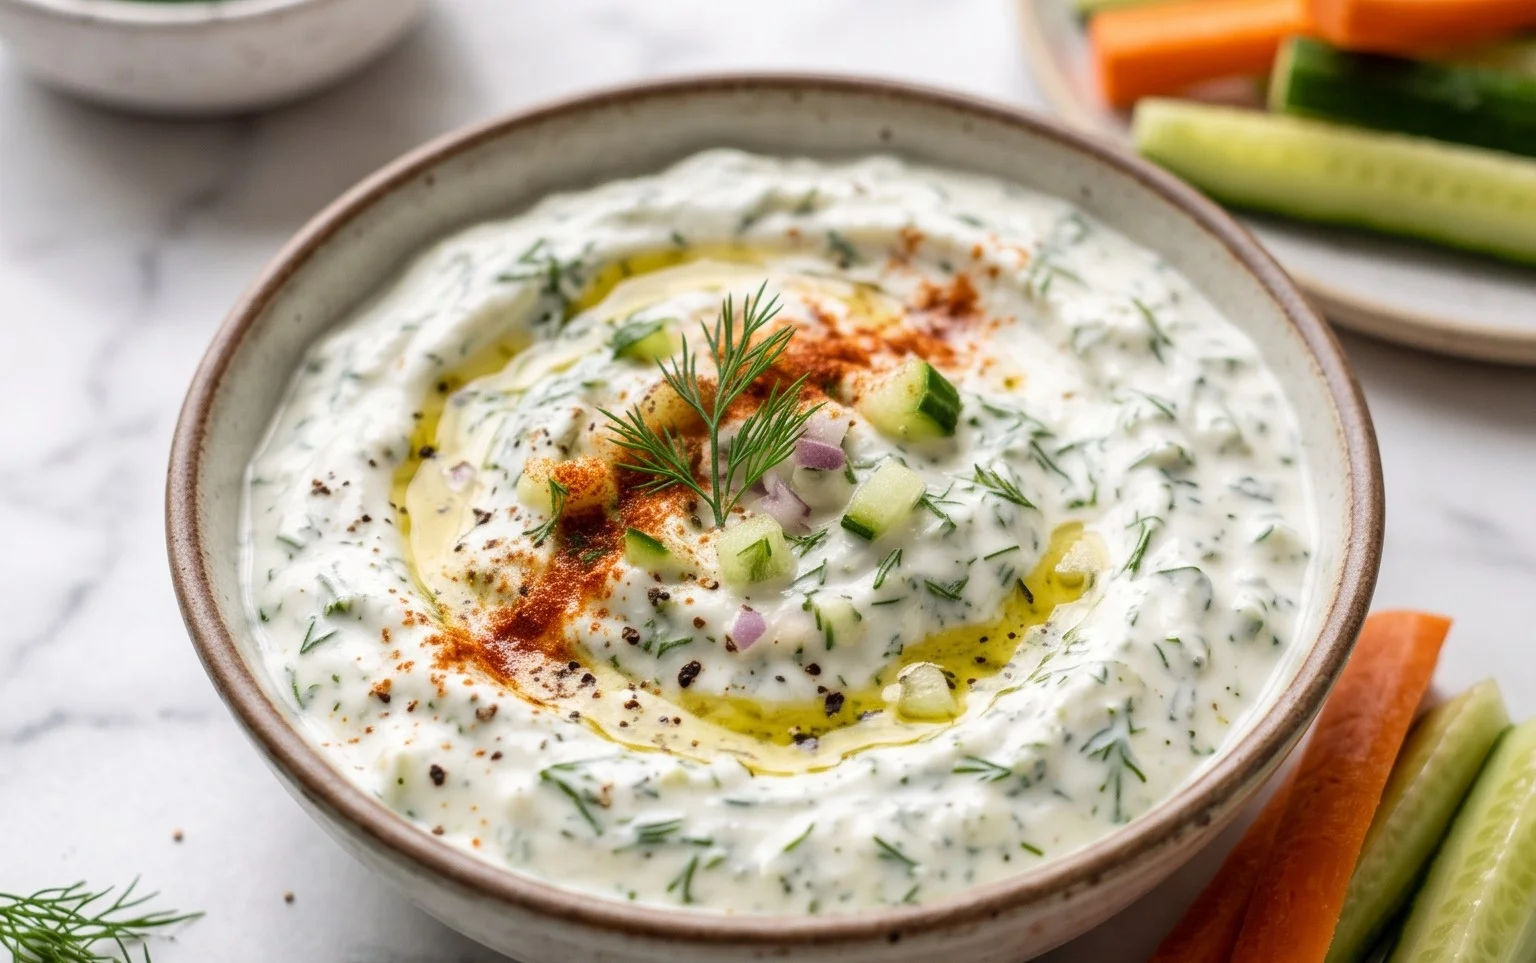
Dill Dip: A Versatile Crowd-Pleaser
There are some recipes that are so simple, yet so utterly delicious, they become instant go-to’s. Dill dip is undeniably one of them. This creamy, herbaceous concoction is a revelation, transforming a simple gathering into a gourmet experience with minimal effort. Whether you’re hosting a lively barbecue, enjoying a cozy night in, or packing a picnic for a sunny afternoon, this dill dip is guaranteed to be a hit. Its bright, fresh flavor profile makes it incredibly versatile, pairing perfectly with everything from crunchy vegetables to savory crackers and even grilled meats. The beauty of this dip lies in its simplicity; it requires no cooking, just a bit of mixing, and a short chill time to allow the flavors to meld beautifully. Let’s dive into how you can whip up this delightful dip in no time.
Ingredients:
Instructions:
Gathering Your Ingredients and Preparation
The first step to creating this fantastic dill dip is to gather all your ingredients. Having everything prepped and ready will make the mixing process smooth and enjoyable. For the fresh herbs, ensure they are thoroughly washed and patted dry. Finely chop the fresh dill and parsley; the smaller the pieces, the more evenly distributed their flavor will be throughout the dip. If you’re using dried dill, you can substitute it, but fresh dill offers a brighter, more vibrant flavor that truly shines in this recipe. However, if you must use dried dill, start with about 1 tablespoon and adjust to your taste, as dried herbs are more concentrated.
Combining the Creamy Bases
In a medium-sized mixing bowl, combine the mayonnaise and sour cream. These two form the luscious, creamy foundation of our dill dip. I like to use a full-fat mayonnaise and sour cream for the richest flavor and texture, but you can certainly opt for lighter versions if you prefer. Whisk these two ingredients together until they are completely smooth and well incorporated. You want to achieve a homogenous mixture, free of any streaks of either ingredient. This creates a luxurious base that will carry all the wonderful flavors of the herbs and seasonings.
Adding the Flavor Boosters
Next, it’s time to introduce the star of the show: the herbs and seasonings. Add the onion flakes to the bowl with the mayonnaise and sour cream mixture. The onion flakes provide a subtle yet essential savory note without the sharpness of fresh onions, which can sometimes overpower a dip. Follow with the chopped fresh dill and fresh parsley. Don’t be shy with the herbs; they are what give this dip its signature fresh and vibrant taste. Finally, stir in the seasoned salt. Seasoned salt, like Lawrey’s, is a fantastic shortcut as it already contains a blend of salt and various spices, adding a touch of complexity to the dip.
The Crucial Mixing Stage
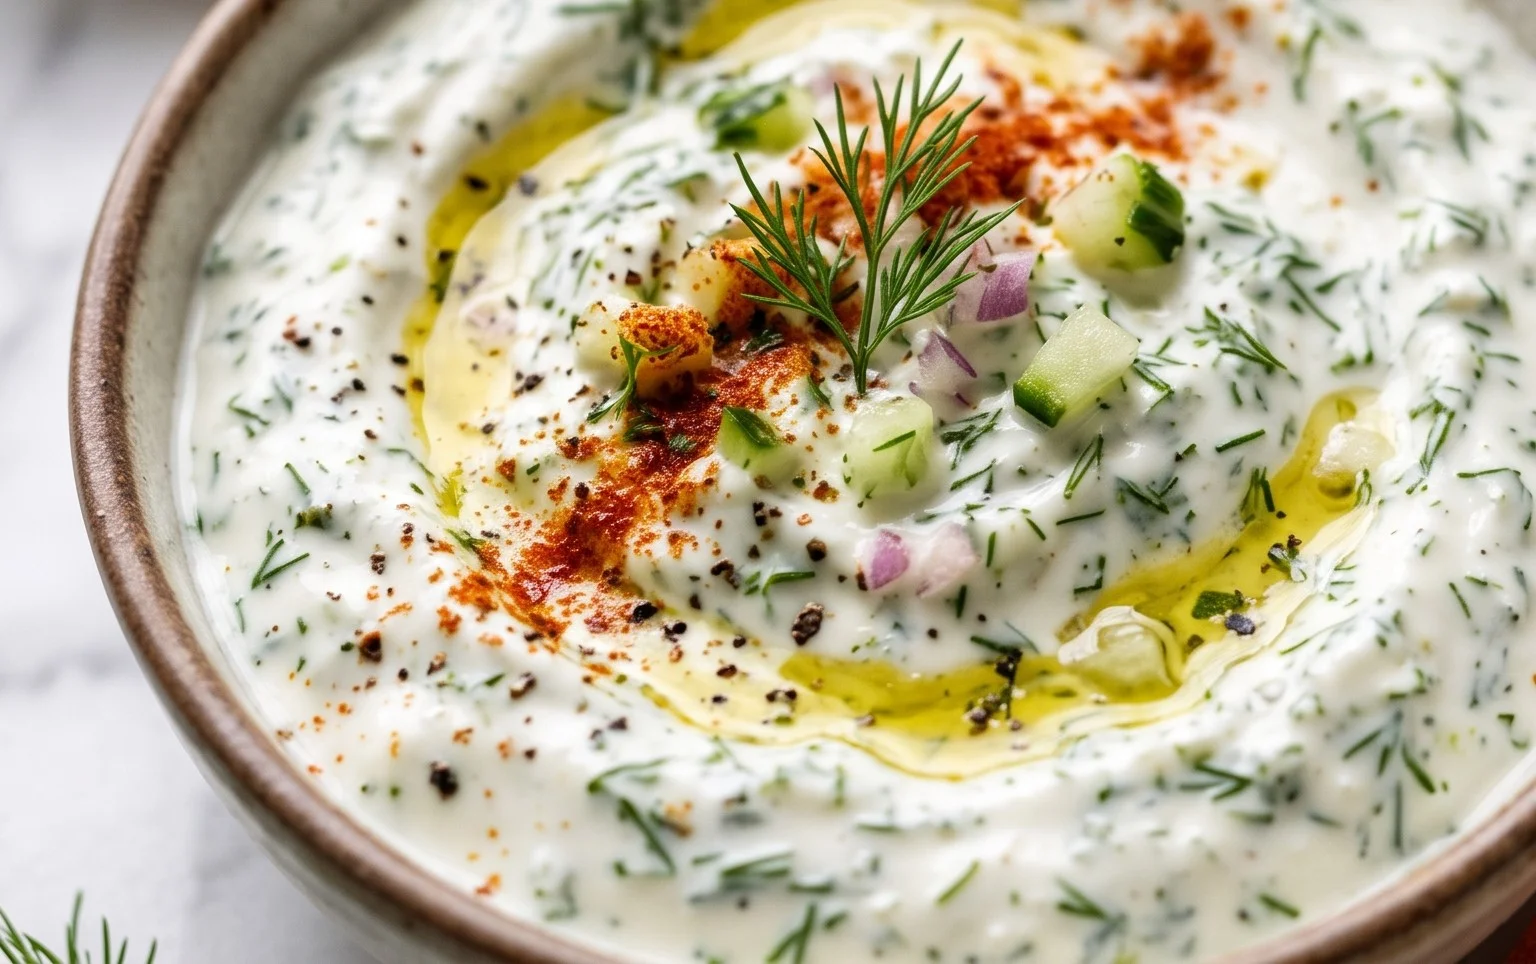
Now, the most important part: mixing it all together. Using a whisk or a sturdy spoon, gently but thoroughly stir all the ingredients until they are evenly distributed. You want to ensure that the herbs and seasonings are spread throughout the creamy base, so every scoop of dip is packed with flavor. Scrape down the sides of the bowl a few times to make sure nothing is hiding at the bottom. The goal is a uniformly colored and textured dip, with visible flecks of green from the herbs. Take a moment to admire the beautiful green hue that the fresh herbs impart.
The Magic of Chilling
This is perhaps the most critical step for achieving optimal flavor: chilling. Once everything is well combined, cover the bowl tightly with plastic wrap or transfer the dip to an airtight container. Place the dip in the refrigerator for at least 30 minutes. This chilling period is not just about cooling the dip; it’s essential for allowing the flavors to meld and deepen. The dill and parsley will release their oils, and the savory notes from the onion flakes and seasoned salt will have time to harmonize with the creamy bases. The longer it chills, the more complex and satisfying the flavor will become. I often make it a few hours ahead of time, or even the night before, to ensure the flavors are at their peak.
Serving Your Delectable Dill Dip
After the chilling period, give the dip a quick stir. The consistency might have thickened slightly, which is perfectly normal. Now, your delicious dill dip is ready to be served! Transfer it to a nice serving bowl. It’s perfect with a variety of dippers. Think of an assortment of fresh, crisp vegetables like carrot sticks, celery stalks, cucumber slices, bell pepper strips, and broccoli florets. It’s also wonderful with pita chips, tortilla chips, crackers of all kinds, or even as a spread for sandwiches and wraps. For a truly impressive spread, consider serving it alongside some warm, crusty bread or even some grilled chicken or fish. Enjoy the compliments that are sure to come your way!
Conclusion:
There you have it – a simple yet incredibly versatile dill dip recipe that’s sure to become a staple in your entertaining repertoire! This recipe truly shines because of its ease of preparation, the delightful burst of fresh dill flavor, and its adaptability. Whether you’re hosting a casual get-together or looking for a quick and delicious appetizer, this dill dip is a guaranteed crowd-pleaser. Its creamy texture and herbaceous notes complement a wide array of dippers, making it perfect for any occasion. I encourage you all to give this wonderful recipe a try; I promise you won’t be disappointed!
As for serving, the possibilities are endless! Load up a platter with fresh veggies like carrots, celery, bell peppers, and cucumber slices. Crusty bread, pita chips, and crackers are also fantastic choices. Don’t shy away from serving it alongside grilled chicken or fish as a flavorful sauce.
Feeling adventurous? Experiment with variations! For a lighter version, substitute some of the sour cream or mayonnaise with Greek yogurt. Add a pinch of garlic powder or onion powder for an extra flavor kick, or stir in some chopped chives for added freshness. The core of this recipe is its delightful dill flavor, and it’s so easy to customize to your personal taste.
Frequently Asked Questions:
Can I make this dill dip ahead of time?
Absolutely! This dill dip actually tastes even better when it has had a chance to chill in the refrigerator for at least an hour, allowing the flavors to meld together beautifully. It can be made up to 2 days in advance, making it perfect for preparing for parties.
What are some good substitutes if I don’t have fresh dill?
If you’re out of fresh dill, you can certainly use dried dill. A good rule of thumb is to use about one-third the amount of dried dill compared to fresh dill. So, if the recipe calls for 2 tablespoons of fresh dill, start with about 2 teaspoons of dried dill and adjust to your taste.
Dill Dip
A classic and refreshing dill dip, perfect for parties and gatherings.
Ingredients
-
1 cup (232 g) mayonnaise
-
1 cup (230 g) sour cream
-
2 tablespoons onion flakes
-
3 tablespoons fresh dill
-
1 tablespoon fresh parsley
-
1 teaspoon seasoned salt ((such as Lawrey’s))
Instructions
-
Step 1
In a medium bowl, combine the mayonnaise and sour cream. -
Step 2
Add the onion flakes to the mixture. -
Step 3
Stir in the fresh dill. -
Step 4
Add the fresh parsley. -
Step 5
Season with the seasoned salt, ensuring it’s evenly distributed. -
Step 6
Stir until all ingredients are well combined. -
Step 7
For best flavor, cover and refrigerate for at least 30 minutes before serving.
Important Information
Nutrition Facts (Per Serving)
It is important to consider this information as approximate and not to use it as definitive health advice.
Allergy Information
Please check ingredients for potential allergens and consult a health professional if in doubt.